Your steering wheel vibrates at 55 mph. The car pulls slightly to one side. You notice uneven tire wear after just 5,000 miles. These could all signal tire runout – a potentially dangerous condition where your wheel or tire doesn’t rotate perfectly true. Unlike a simple flat tire, runout issues compromise vehicle control and accelerate tire damage if misdiagnosed. With thousands of online “fixes” circulating, many dangerously oversimplified, knowing how to identify reliable repair information becomes as critical as the repair itself. This guide cuts through the noise to show you exactly what verified tire runout solutions require – and why skipping proper diagnostics risks catastrophic failure.
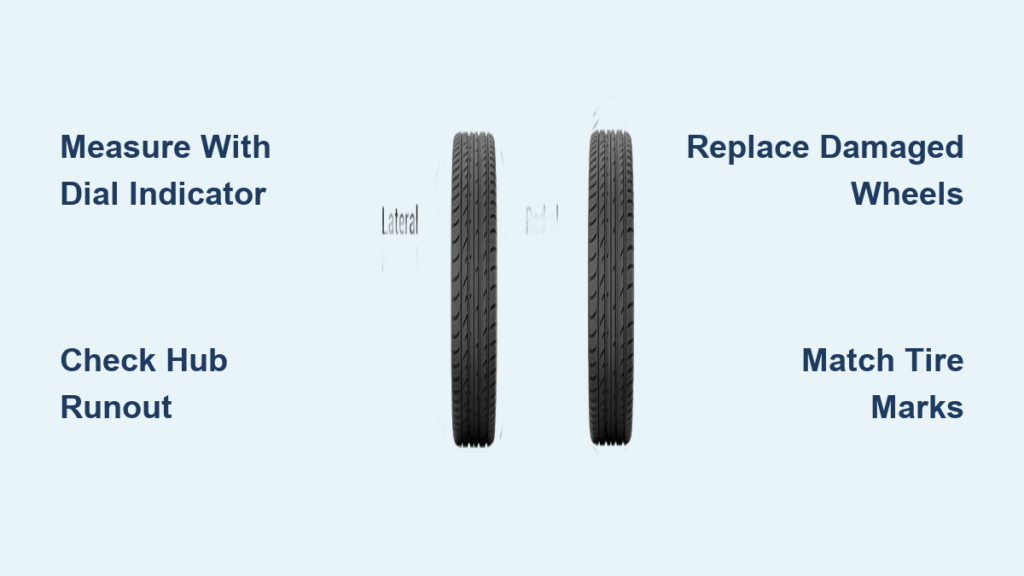
Tire runout isn’t just an annoyance; it’s a mechanical deviation measured in thousandths of an inch that directly impacts road contact. Yet most DIY articles skip the physics: radial runout (up-and-down wobble) strains suspension components, while lateral runout (side-to-side sway) wears tires into dangerous “scalloped” patterns. Without manufacturer-specified tolerances – which vary by vehicle weight and speed rating – you’re guessing whether 0.030″ is acceptable or requires immediate action. We’ll navigate what actual repair protocols entail, based on industry standards you won’t find in viral “5-minute fix” videos. More importantly, you’ll learn when attempting repairs yourself crosses into life-threatening territory.
Critical Warning Signs Your Tire Runout Needs Professional Diagnosis
Steering Wheel Vibration That Changes With Speed
Notice vibration that intensifies precisely between 45-65 mph but smooths out at higher speeds? This classic symptom often indicates radial runout exceeding 0.050″. Do not assume it’s just an imbalance – improperly seated tires or bent rims create identical vibrations. Key visual clue: Check for “cupping” (saw-tooth wear patterns) on the tire shoulders. If present, runout has progressed beyond simple rebalancing. Immediate action: Measure runout before rotating tires, or you’ll transfer the problem to another wheel position.
Uneven Tire Wear Patterns After Short Mileage
Scalloped dips along the inner or outer tread edge within 10,000 miles? This lateral runout signature means the tire is rocking side-to-side against the road. Danger zone: Wear deeper than 2/32″ in any spot voids most tire warranties and risks tread separation. Critical mistake to avoid: Many guides suggest “rotating tires to even wear” – this accelerates damage when runout is the root cause. Instead, document wear patterns with photos before dismounting; technicians use these to pinpoint whether the issue originates from the wheel, tire, or hub.
What Verified Repair Guides MUST Include (No Exceptions)

Precise Measurement Protocols With Tool Specifications
Reliable procedures mandate using a magnetic-base dial indicator – not eyeballing wheel wobble. Acceptable runout thresholds vary: Luxury sedans often require under 0.030″ radial runout, while trucks tolerate up to 0.060″. You’ll see these in trustworthy guides:
– Radial measurement: Indicator tip perpendicular to tread centerline, 0.020″ preload
– Lateral measurement: Tip angled 45° against sidewall, rotating wheel slowly
– Must test both tire and bare wheel to isolate the culprit
If a “fix” article skips these specifics or suggests smartphone apps as substitutes, discard it immediately. Margin of error beyond 0.005″ risks misdiagnosis.
Step-by-Step Wheel-Tire Separation Process
True repair guides detail the bead-seating sequence that prevents rim damage:
1. Deflate tire completely and break both beads loose with air pressure (NEVER pry)
2. Clean wheel mounting surface with non-abrasive pad – corrosion causes 30% of runout
3. Apply bead lubricant only to tire beads (never wheel surface)
4. Inflate to 40 PSI in two stages with valve core removed
Pro tip: Watch for the “double pop” sound as beads seat – uneven seating causes immediate runout. If no pop occurs within 5 seconds, deflate and reposition tire. Skipping this risks explosive tire failure during inflation.
When Replacement Is Non-Negotiable
No reputable guide suggests “fixing” these conditions:
– Radial runout >0.080″ on aluminum wheels (indicates permanent bending)
– Lateral runout >0.060″ after reseating (tire carcass damage)
– Visible rim cracks near valve stem (structural failure imminent)
Urgent reality check: Online “bend straightening” tutorials using hammers or hydraulic presses cause microscopic metal fatigue. A wheel that passes a water submersion test today may shatter at highway speeds tomorrow. If your guide doesn’t explicitly state “replace immediately” for these scenarios, it’s dangerously outdated.
Dangerous DIY Shortcuts That Cause Catastrophic Failure
The “Tire Rotation Masking” Trap
Countless blogs claim rotating tires “evens out runout wear.” This is physically impossible and dangerously misleading. Runout is a mechanical deviation – rotation merely moves the vibration point. Worse, transferring a damaged tire to the front axle (where vibrations are more dangerous) turns a nuisance into a control hazard. Verified protocols always require diagnosing the source before any rotation. If vibration persists after rotation, you’ve likely compounded the problem by wearing multiple tires unevenly.
Improvised Balancing With Household Items
Articles suggesting “adding weights with zip ties or tape” ignore physics: At 60 mph, a 1-ounce imbalance generates 50+ pounds of centrifugal force. Tape fails within miles; zip ties melt from brake heat. Proper balancing requires:
– Computerized spin balancer ($15,000+ equipment)
– Adhesive weights bonded with surface prep
– Dynamic (not static) balancing for runout correction
Hard truth: If a “fix” doesn’t require professional balancing equipment, it’s delaying inevitable tire replacement while risking wheel bearing damage.
Professional Repair Workflow: What You Should Expect
Hub-Centric Resurfacing Process
When hub runout causes the issue (common on older vehicles), technicians follow this sequence:
1. Measure hub runout with indicator mounted to suspension
2. If >0.002″, remove hub and mount on lathe
3. Resurface in single pass at 200 RPM (prevents heat warping)
4. Recheck runout before reassembly
Time reality: This takes 45+ minutes – far longer than viral “10-minute fixes.” Rushed shops skip step 1, blaming tires for hub issues. Demand proof of pre-repair measurements.
Tire Matching for Runout Compensation
Advanced shops use this manufacturer technique:
1. Mark high point of wheel runout (usually valve stem)
2. Mark low point of tire (stiffest spot)
3. Mount tire so marks align 180° apart
This cancels minor deviations – but requires specialized marking tools. Warning: If your mechanic claims “all tires are identical,” they’re not using this protocol. Ask to see the match-mounting marks on your new tire.
Prevention Checklist: Stop Runout Before It Starts
Installation Non-Negotiables
- Torque in star pattern to exact spec (overtightening distorts wheels)
- Use torque stick – impact guns alone cause 70% of wheel-related runout
- Clean hub/pilot bore with wire brush before mounting (dirt = 0.020″ runout)
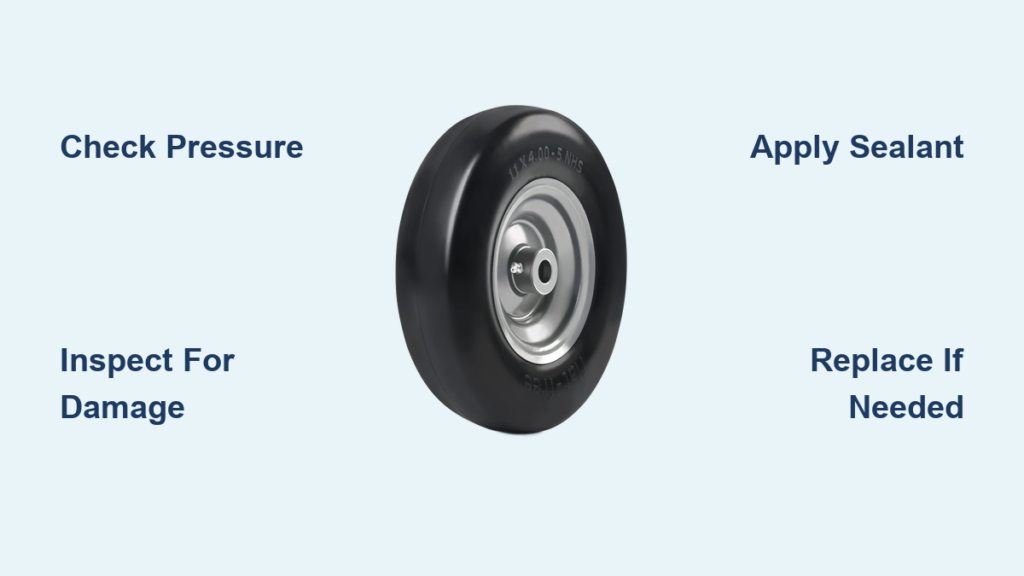
Monthly Self-Checks You Must Perform
- Park on level surface, chock rear wheels
- Jack up wheel until off ground
- Spin wheel while holding ruler 1/8″ from tread
- Look for consistent gap variation > pencil lead thickness
Critical: Do this before tire rotation – it catches developing issues early.
Final Note: Tire runout repair isn’t about quick hacks – it’s precision engineering affecting your survival at 70 mph. Never attempt wheel straightening or bead seating without professional equipment. When in doubt, consult your vehicle manufacturer’s service manual (not generic blogs) for model-specific tolerances. Remember: A tire rotating at 800 RPM turns minor runout into violent harmonic oscillation. Your safety depends on verified procedures, not viral shortcuts. For persistent vibration, seek ASE-certified tire technicians who document measurements before and after service – your life literally rides on those thousandths of an inch.