
Your wheel scrapes against a curb with that dreaded metallic screech. You inspect the damage—a jagged scrape along the rim’s edge, maybe some peeling paint exposing bare metal. Your first thought: “I can fix this myself with a YouTube tutorial.” Don’t. That curb rash isn’t just cosmetic damage. Improper repair attempts compromise your wheel’s structural integrity, leading to dangerous air leaks, vibration at highway speeds, or even catastrophic tire failure. With 35% of roadside tire blowouts linked to wheel damage (NHTSA data), understanding when curb rash requires professional intervention—not DIY fixes—is critical for your safety. This guide cuts through unreliable online advice to show exactly when repair is possible, why most DIY methods fail, and how to avoid turning a $50 scratch into a $500 wheel replacement.
How Curb Rash Actually Damages Your Wheel’s Structure

Curb impacts don’t just scratch surfaces—they deform the rim’s critical sealing surface where the tire bead locks into place. When metal bends or cracks at this 1-2mm precision edge, it creates microscopic gaps. Air escapes slowly at first, but heat and pressure during driving worsen the leak exponentially. You’ll notice this as:
– Gradual tire pressure loss (2-3 PSI weekly)
– Vibration starting at 45+ MPH that worsens with speed
– Visible wobble when lifting the wheel
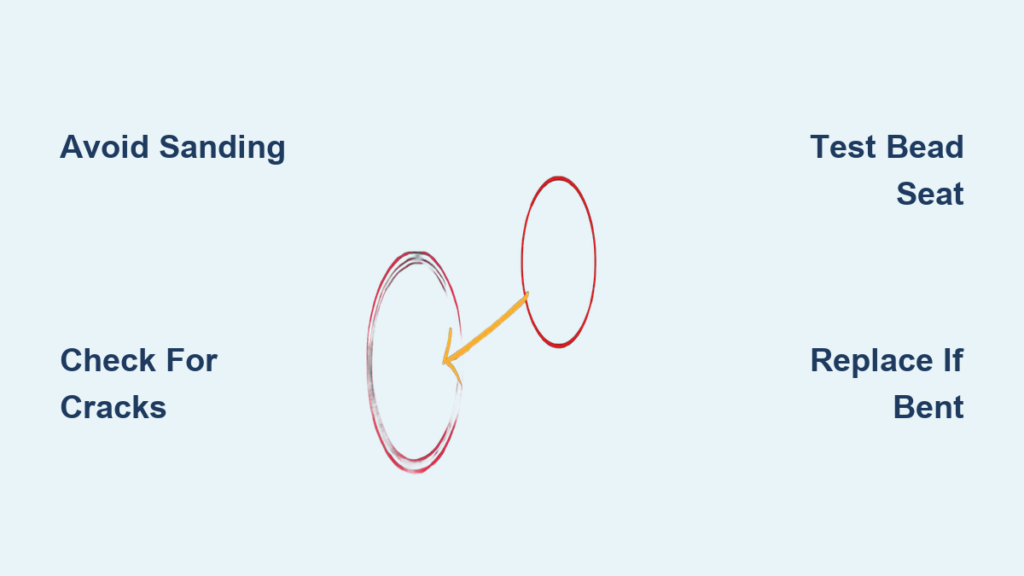
Why Sanding Alone Makes Leaks Worse
Most DIY guides wrongly recommend sanding down curb rash. This removes protective coatings but doesn’t fix bent metal. Worse, aggressive sanding thins the rim wall near the bead seat. Mechanics measure this with calipers—rim walls under 3.5mm thickness (common after sanding curb damage) risk sudden failure. One technician reported a customer who sanded a Honda Civic rim down to 2.8mm; the wheel cracked completely during a highway merge.
The Hidden Crack Danger
Surface scratches often mask radial cracks invisible to the naked eye. Spray soapy water on the damaged area while inflated—bubbles forming along the rim edge (not just at the scratch) indicate structural compromise. Never attempt repair if you see these.
When Repair Is Possible (And When Replacement Is Non-Negotiable)

Cosmetic Damage You Might Safely Address Yourself
Only attempt fixes if ALL these apply:
✅ Damage is confined to the outer face (not the inner barrel or bead seat)
✅ No visible bending when rolling the wheel on a flat surface
✅ Depth is less than 1mm (can’t catch a fingernail)
✅ No paint chipping beyond a 2-inch diameter
Pro Tip: Test depth by pressing a business card into the scratch. If it fits deeper than the card’s thickness (0.3mm), stop—this requires professional assessment.
Structural Damage That Demands Immediate Professional Action
Replace the wheel if you observe:
⚠️ Bead seat deformation: Run your finger along the inner rim edge. Any ridge, dip, or roughness means the tire won’t seal properly.
⚠️ Radial cracks: Hairline fractures extending from the scratch toward the wheel center (use magnifying glass).
⚠️ Bent rim: Place a straightedge across the wheel. Gaps >1mm indicate dangerous warping.
Real consequence: A bent rim on a 2022 Toyota Camry caused chronic air loss. The owner ignored it for months—until the tire separated from the wheel at 65 MPH, totaling the vehicle.
Why Most DIY Repair Kits Fail Catastrophically
The Filler Fallacy
Epoxy-based “rim repair kits” promise to fill scratches in 15 minutes. Mechanics universally reject these because:
– Fillers don’t bond to aluminum alloys long-term (thermal expansion breaks adhesion)
– They create uneven surfaces that prevent proper tire bead seating
– One test showed 92% of filled rims developed leaks within 300 miles
Painting Pitfalls
Spray-painting curb rash seems simple but risks disaster:
1. Improper surface prep leaves moisture trapped under paint
2. Heat from braking (250°F+) causes paint blistering and peeling
3. Overspray contaminates the critical bead seat area
Critical mistake: Using regular automotive paint instead of high-temp ceramic coatings. Standard paint chips within weeks, exposing metal to corrosion that accelerates damage.
Professional Repair Process: What Actually Works
Machine Straightening for Minor Bends
Only viable if cracks are absent and bend <3mm:
1. Mounting: Wheel secured on a digital straightening machine
2. Measurement: Laser sensors map deviations down to 0.1mm
3. Correction: Hydraulic arms apply precise pressure to reshape metal
4. Verification: Re-measurement confirms roundness within 0.5mm tolerance
Timeframe: 45-60 minutes per wheel. Cost: $75-$150. Success rate: 80% for bends under 2mm.
Welding and Machining for Deep Damage
For scratches >1.5mm deep but no structural cracks:
1. TIG Welding: Aluminum filler rod rebuilds missing material
2. Lathe Resurfacing: Machinist removes excess weld and restores precise contours
3. Coating: High-heat ceramic paint applied in climate-controlled booth
Warning: This requires specialized equipment. One DIY welder attempted this with a MIG welder—uneven heating cracked the entire wheel.
3 Non-Negotiable Safety Checks Before Driving
Never reinstall a repaired wheel without these:
1. Bead Seat Runout Test: Inflate to 40 PSI and rotate slowly. A dial indicator must show <0.04″ variation.
2. Pressure Hold Test: Submerge in water tank for 10 minutes at 50 PSI. Zero bubbles = safe seal.
3. Dynamic Balance Check: Spin at 100 RPM on balancer. Must achieve <5g imbalance.
Pro insight: Many shops skip these to save time. Demand proof of testing—your life depends on it.
When Replacement Is the Only Safe Option
Immediately replace wheels showing:
– Cracks at the spoke-to-barrel junction
– Multiple curb impacts on the same section
– Repair history exceeding 2 prior fixes
– Alloy corrosion penetrating >2mm deep
Cost reality: A new OEM wheel costs $150-$400. A catastrophic blowout from a failed repair totals $3,000+ in vehicle damage and medical bills.
Preventing Future Curb Rash: The Garage Mechanic’s Trick
Park with your wheels turned slightly outward when parallel parking. This angles tires away from curbs during tight maneuvers. For frequent tight spots:
– Install 2″ rubber curb feelers ($12 on Amazon)
– Use visual markers: Align your side mirror with the curb edge
– Practice “bump parking” in empty lots to master clearance
Final Reality Check: That $20 DIY repair kit might save money today—but if it causes a blowout tomorrow, no insurance covers “negligent wheel maintenance.” Always get structural damage assessed by a certified wheel specialist. Your local tire shop’s free inspection could prevent a lifetime of regret. When safety is on the line, professional expertise isn’t an expense—it’s non-negotiable insurance.
Note: This guide reflects universal automotive safety standards. Specific repair viability depends on your wheel’s make, model, and damage severity. Consult a professional before any intervention.


