Nothing disrupts your weekend lawn care routine like discovering your mower tire has slowly deflated overnight—again. That frustrating hiss you hear when checking tire pressure signals a slow leak that won’t fix itself, leaving you stranded mid-mow and forcing repeated air top-offs. The good news is how to fix slow leak in lawn mower tire is a skill most homeowners can master with basic tools and the right approach. Unlike sudden blowouts, slow leaks give you time to pinpoint the exact problem and apply the proper solution. Whether it’s a hidden thorn, worn valve stem, or corroded rim, this guide walks you through every diagnostic step and repair method so you can get back to mowing without costly service calls or premature tire replacements.
Most lawn mower tire leaks stem from three common sources: punctures from sharp objects hidden in grass, dry rot from sun exposure, or corrosion at the tire-bead connection. The repair method depends entirely on where and why the leak occurs—plugging works for tread punctures but fails for bead leaks. Skipping proper diagnosis leads to wasted time and money on ineffective fixes. By following this systematic approach, you’ll identify your specific leak type and apply the most effective solution for long-lasting results.
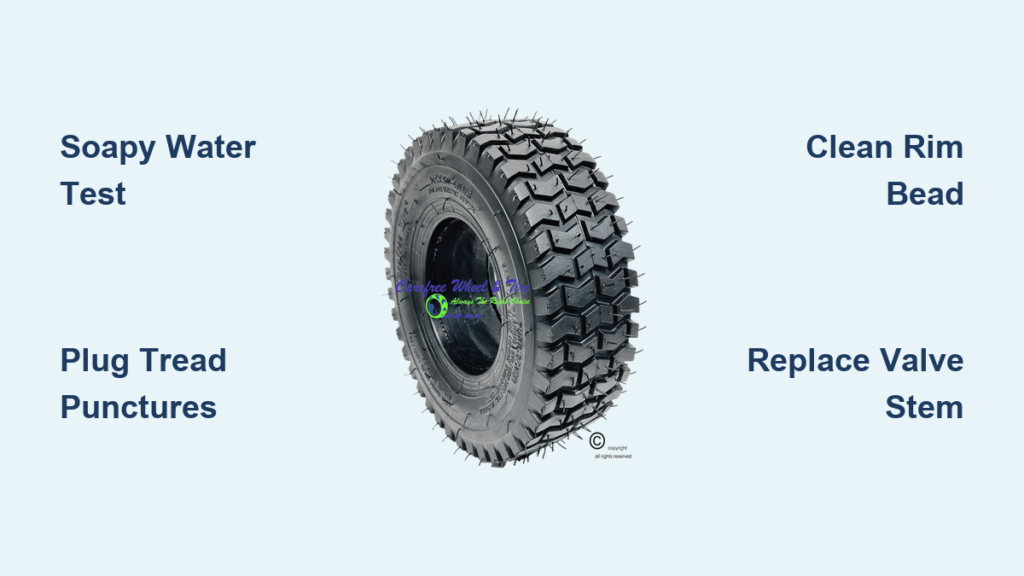
Locate Your Lawn Mower Tire Leak Source
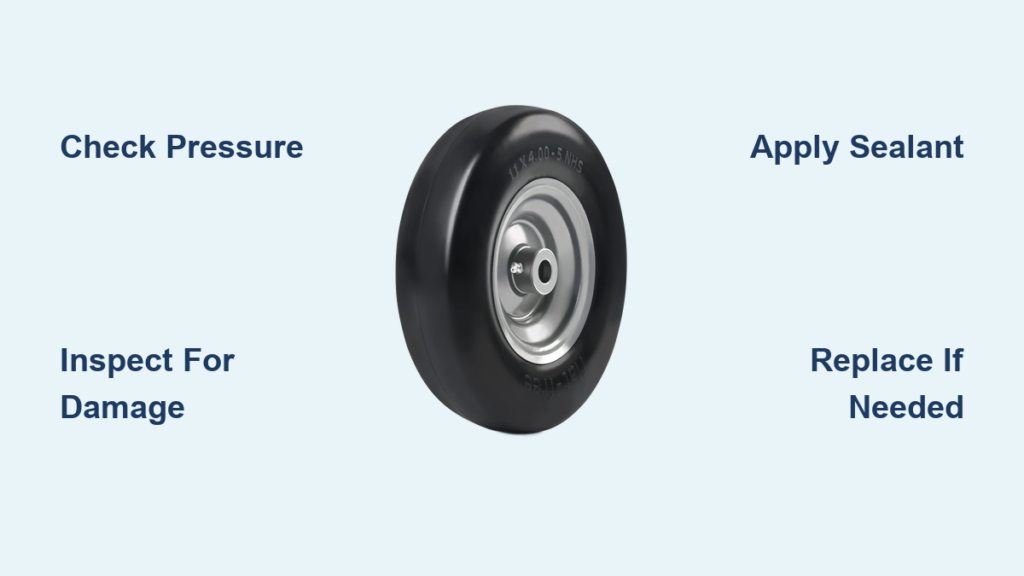
Before grabbing tools, you must pinpoint exactly where air escapes—this determines your repair strategy. Many homeowners waste time plugging tires when the real problem is a corroded rim or faulty valve stem.
Soapy Water Test for Precise Leak Identification
Overinflate your tire slightly (5-10 PSI above normal) and mix 1 tablespoon of dish soap with 1 cup of water in a spray bottle. Spray this solution over the entire tire surface—tread, sidewalls, valve stem base, and bead area (where rubber meets rim). Watch for bubbles forming anywhere; moving air creates visible evidence through the soapy film. Don’t rush this step—some leaks are microscopic and take 30-60 seconds to show bubbles. For hard-to-see areas, use a small paintbrush to apply the solution directly and inspect closely. This foolproof method works because escaping air forces the soap solution into the breach, creating unmistakable visual confirmation.
Valve Stem Leak Detection
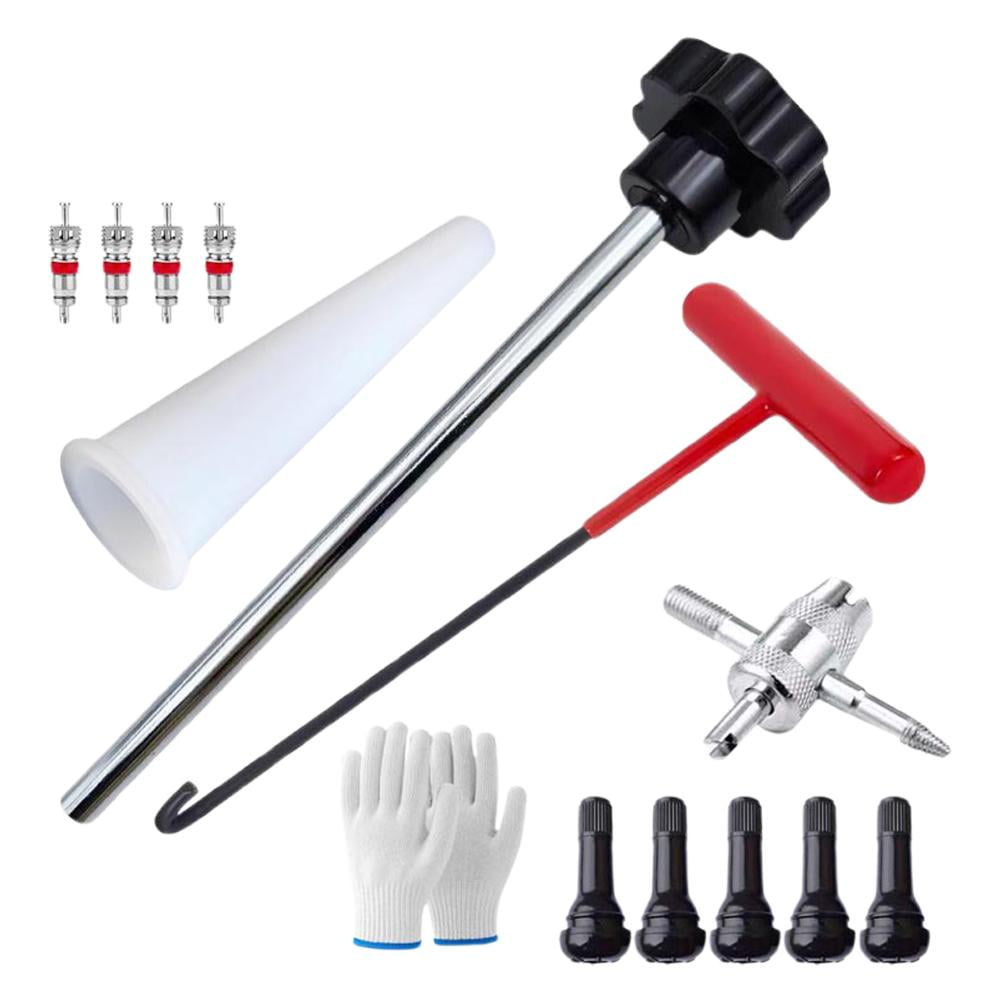
Valve stems cause nearly 30% of slow leaks but often get overlooked. Remove the valve cap, then spray soapy water directly where the stem meets the rim. If bubbles form here, your valve stem is failing. Common culprits include corroded valve cores, worn rubber grommets, or debris preventing proper sealing. Try tightening the valve core with a small valve tool before replacement—sometimes a simple quarter-turn stops the leak.
Repair Small Tread Punctures with Tire Plugs
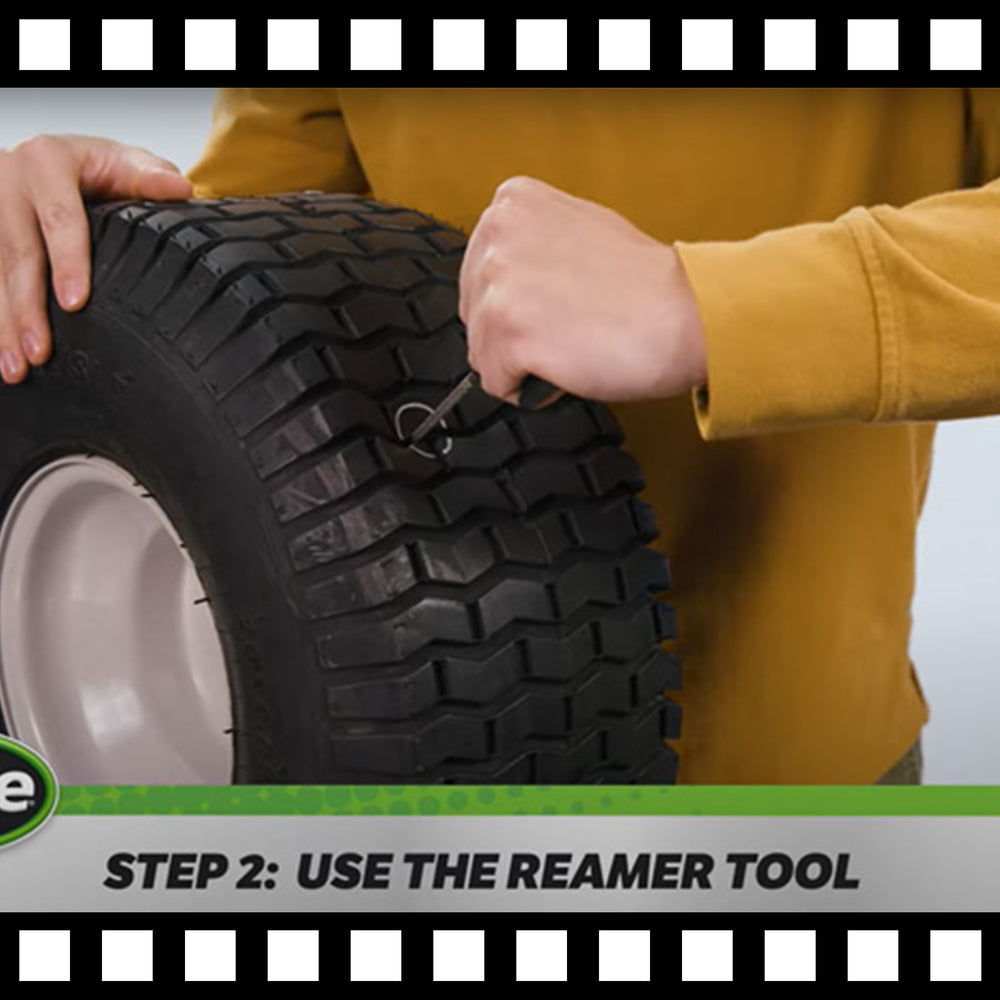
For punctures in the tread area (not sidewalls), plug repairs offer the fastest, most cost-effective solution without tire removal. This method works best on holes between 1/8″ and 3/8″ caused by thorns, nails, or metal fragments.
Step-by-Step Plug Installation Process
- Locate and clean the puncture – Remove any debris with needle-nose pliers
- Ream the hole – Insert the reamer tool from your plug kit and twist 3-4 times to create a clean channel
- Thread the plug – Push the rubber plug through the insertion tool’s eye until 1/2″ protrudes
- Insert the plug – Push the tool straight through the puncture until half the plug exits the tire
- Trim excess – Pull the tool out slowly, then cut protruding plug flush with the tread
Important: Never plug sidewall punctures—they carry structural load and repairs won’t hold. For holes larger than 3/8″, skip plugging and consider patching or tube installation instead.
Fix Bead Leaks with Rim Cleaning and Lubrication
Bead leaks occur when the tire’s edge loses its seal against the rim, often from corrosion or debris. This common problem mimics punctures but requires different treatment.
Bead Re-Seating Procedure
- Deflate the tire completely – Remove the valve core with a stem tool
- Clean the rim surface – Use steel wool or a wire brush to remove rust and debris from the rim’s bead seat
- Apply tire mounting lubricant – Coat both the rim’s bead seat and tire’s inner bead edge
- Reinflate slowly – Use a compressor with a quick-fill chuck to rapidly inflate until the bead “pops” into place
Warning: If corrosion has deeply pitted the rim, cleaning won’t create a proper seal—rim replacement becomes necessary. Check for shiny metal after cleaning; if you see significant pitting, replace the rim.
Replace Faulty Valve Stems in 10 Minutes
Worn valve stems cause frustrating intermittent leaks that seem to come and go. Replacement costs under $5 and takes less time than diagnosing the problem.
Valve Stem Replacement Steps
- Deflate the tire completely
- Remove the old stem – Use a valve stem puller tool to hook and pull the stem through the rim
- Clean the rim hole – Remove any rust or debris with a small wire brush
- Insert the new stem – Push the new stem through the rim from inside until the rubber grommet seats firmly
- Reinstall the valve core – Use your old core if functional, or install the new one included with the stem
Pro tip: Apply a small amount of soapy water to the new stem’s rubber grommet before installation—it slides into place easier and creates a better initial seal.
Install Inner Tubes for Permanent Leak Solutions
When multiple repairs fail or your tire has accumulated several punctures, installing an inner tube provides the most reliable long-term fix. This approach creates a separate air chamber unaffected by tire punctures.
Tube Installation Checklist
- Purchase the correct tube size (check tire sidewall for dimensions)
- Lightly dust the inside of the tire with talcum powder
- Position the tube valve through the rim hole before mounting
- Work the tire bead onto the rim starting at the valve stem
- Inflate gradually while checking for proper bead seating
Cost note: Standard tubes cost $5-$15 at hardware stores, and many tire shops will mount them for $5-$10—often cheaper than struggling with DIY removal on difficult caster rims.
Zero Turn Mower Caster Tire Specifics

Caster tires on zero turn mowers create unique challenges with their small 4-6″ diameter rims. Most standard tire tools won’t fit, and bead removal requires specialized techniques.
Caster Tire Repair Tips
- Use mini tire irons designed for small rims—standard tools are too large
- Apply penetrating oil around the bead area before attempting removal
- Consider professional help—many shops charge only $5-$10 for mounting small caster tires
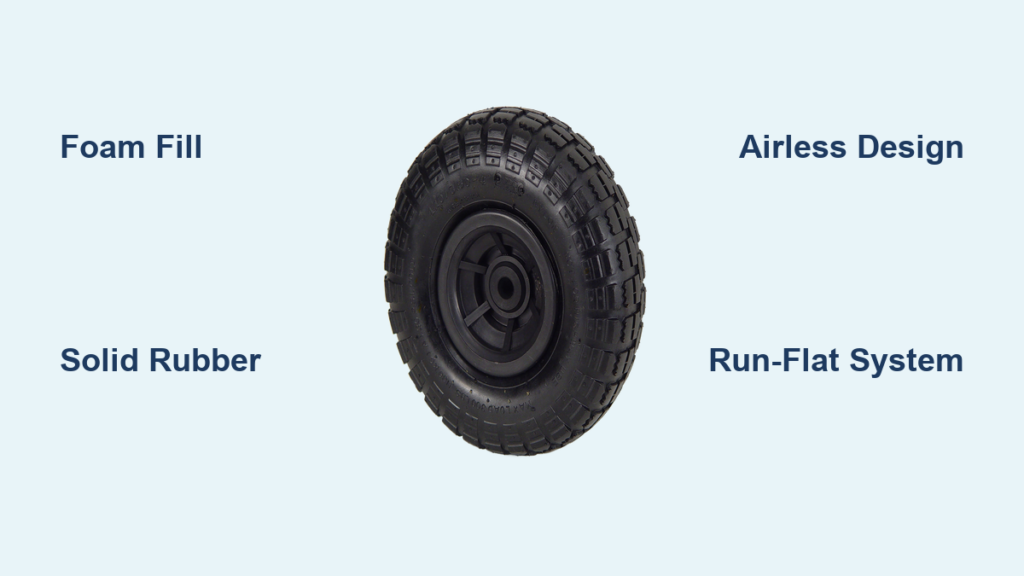
- Replace with solid tires if punctures are constant—no air means no leaks
Critical insight: The Motor Guy forum user discovered most local shops lacked adaptors for small caster rims, eventually finding success at Discount Tire. If you lack specialized tools, professional mounting may save hours of frustration.
Prevent Future Lawn Mower Tire Leaks
Stopping leaks before they start saves more time than any repair. Implement these simple prevention strategies:
- Inspect tires before each use – Remove thorns, nails, and debris immediately
- Maintain proper pressure (10-14 PSI) using a quality gauge—underinflation causes bead leaks
- Store mower in shade – UV exposure accelerates dry rot
- Clean rims regularly – Remove grass clippings and fertilizer residue that cause corrosion
Warning: Avoid water-based sealants like Slime on aluminum rims—they trap moisture and accelerate corrosion. Use non-corrosive sealants like TireJect if choosing this route.
When to Replace Instead of Repair
Some tire conditions make repairs futile. Replace your tire immediately if you notice:
- Sidewall punctures – Structural damage that can’t be safely repaired
- Deep dry rot cracks – Visible cracks you can catch with your fingernail
- Bead damage – Separation or chunks missing from the tire edge
- Multiple clustered punctures – More than 3-4 repairs in close proximity
Cost rule: When repair costs exceed half the price of a new tire (typically $20-$100 depending on size), replacement becomes the smarter investment.
Taking care of slow leaks promptly prevents secondary damage from uneven tire wear and excessive strain on your mower’s transmission. By applying the right repair method for your specific leak type, you’ll enjoy reliable performance all season long—no more unexpected downtime mid-mow. Whether you choose a quick plug fix or permanent tube installation, addressing leaks immediately protects your investment and keeps your lawn looking its best.