
That sinking feeling when you notice your tire is mysteriously losing air again—only to discover it’s not a puncture but a leak where the tire meets the rim. Rim leaks plague drivers of all vehicle types, especially those with aging chrome wheels or wheels that have endured pothole damage. Unlike a visible nail in your tread, these insidious leaks cause gradual air loss that requires weekly reinflation or worse. The good news? Most rim leaks can be permanently sealed with proper technique and the right materials. This guide reveals exactly how to identify, clean, and seal tire leaks around the rim using proven methods that actually work.
Rim leaks occur specifically at the critical junction where your tire bead meets the wheel rim. Corrosion buildup, debris trapped in the bead area, physical rim damage from road hazards, or simply aging chrome plating can all compromise this vital seal. When this happens, air escapes slowly through microscopic gaps between the rubber and metal surfaces. Before attempting any repair, you must confirm it’s truly a rim leak rather than a valve stem issue or tread puncture. Proper diagnosis saves wasted effort and ensures your sealing efforts target the actual problem. Follow these steps to identify, repair, and prevent rim leaks for good.
Pinpoint Your Rim Leak with Soap Water Testing

Before grabbing tools, verify that your leak originates at the tire-rim interface rather than from the valve stem or tire tread. The soap water test provides the most reliable method for identifying rim leaks without guesswork.
Mix dish soap with water in a spray bottle and generously coat the entire tire-rim junction. Pay special attention to the bead area where rubber meets metal, but also check valve stems and tire treads. Watch carefully for 5-10 minutes as the solution sits on the surface. Bubbles forming specifically along the rim edge confirm a bead leak, while bubbles at the valve stem indicate a different problem entirely.
During your inspection, examine the rim closely for visible damage. Look for corrosion, flaking chrome, bends, or cracks that might be causing the leak. Check for debris accumulation in the bead area that could prevent proper sealing. This visual assessment helps determine whether your leak requires simple cleaning or more intensive repair. If bubbles appear consistently around the entire rim circumference, corrosion likely affects the entire sealing surface. If bubbles concentrate in one area, you’ve found the specific problem spot to target during your repair.
Gather These 7 Essential Tools for Rim Leak Repair

Successful rim leak repair requires specific tools designed for cleaning, preparing, and sealing the bead-to-rim interface. Having everything ready before starting prevents frustrating mid-project trips to the store.
- Stiff wire brush – Breaks up rust and corrosion deposits effectively
- Sandpaper (120-220 grit) – Provides finer abrasion for smoothing pitted surfaces
- Metal grinder with brush attachment – For severely corroded rims needing aggressive cleaning
- Isopropyl alcohol (90% or higher) – Critical final cleaning agent that removes microscopic contaminants
- Tire irons – For breaking and removing the tire bead from the rim
- Rubber mallet – Works stubborn beads into position without damaging tire or wheel
- Bead sealer (TECH Bead Sealer or equivalent) – Specifically formulated to fill gaps between tire bead and rim
Never substitute general-purpose adhesives for proper bead sealer. These specialized compounds maintain flexibility over temperature changes while bonding securely to both metal and rubber surfaces. The small investment in proper materials pays dividends in repair longevity—most bead sealers cost $15-$25 for a tube that lasts multiple repairs.
Remove Tire Properly to Access the Bead Area
Deflate the tire completely by pressing the valve stem core with a small tool. Once fully depressurized, break the tire bead away from the rim surface to access the sealing area. This process requires patience—rushing often damages wheels or tires.
Work tire irons carefully around the tire, systematically lifting the bead over the rim edge. Apply steady pressure rather than forcing the iron in any single spot. The bead should gradually separate from the rim as you work your way around the tire. For stubborn beads, apply additional lubricant (soapy water works well) to reduce friction.
After breaking the bead completely, carefully remove the tire from the rim and set it aside. Use this opportunity to inspect both the inner liner of the tire and the entire rim surface. Look for damage, corrosion, or debris that contributed to the original leak. Note any pitting in the rim metal, as these depressions often trap contaminants that prevent proper sealing.
Clean Rim and Bead with Professional-Level Detail
Cleaning represents the most critical step in achieving a permanent seal—90% of failed repairs result from inadequate cleaning. This phase demands meticulous attention to detail that most DIYers overlook.
For the rim surface where the bead seats, use your wire brush or sandpaper to remove all rust, dirt, corrosion, and old sealant residue. Pay special attention to any pitting in the rim metal—these depressions trap contaminants that brushing alone won’t remove. For chrome wheels with flaking plating, you may need a grinder with metal brush attachment to reach sound metal beneath the deterioration.
After mechanical cleaning, wipe the entire rim surface with a clean rag dampened with isopropyl alcohol. This step removes microscopic residue that brushing leaves behind. The rim must be spotlessly clean and completely dry before proceeding—any moisture or contamination interferes with sealant adhesion.
The tire bead requires equal attention. Wash the bead area thoroughly with soapy water, rinse completely, and allow it to dry. Remove any dirt, debris, old sealant, or lubricants that might prevent proper sealing. Inspect the bead itself for damage, nicks, or deformities that might require additional attention.
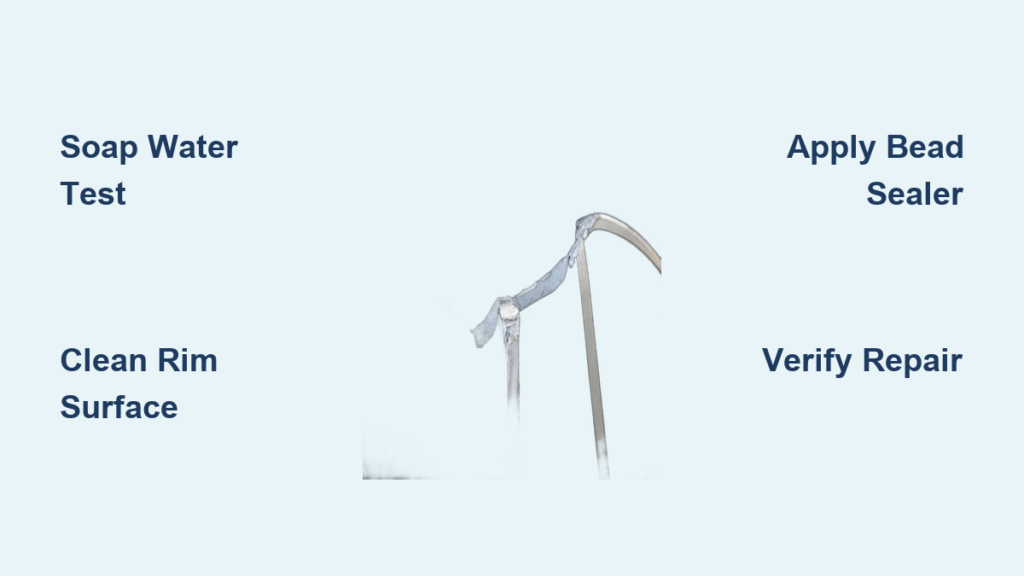
Apply Bead Sealer with Precision Technique

With both surfaces clean and dry, you’re ready to apply the sealant. Proper application technique makes the difference between a temporary fix and a permanent solution.
Reinstall the tire onto the rim carefully, ensuring the bead is positioned evenly around the entire circumference. Take care to avoid pinching the tire bead during installation. Once positioned correctly, inflate slowly to approximately 20-30 PSI—enough pressure to begin seating the bead against the rim without overstressing components.
Apply your bead sealer around the entire bead area on the rim, following the product’s specific instructions. Work systematically to ensure complete coverage without gaps. The sealant fills micro-gaps between the tire bead and rim surface that would otherwise allow air to escape. TECH Bead Sealer and similar compounds remain flexible through temperature changes while creating an airtight barrier.
Continue inflating the tire to the manufacturer-recommended pressure. This final inflation ensures the bead seats fully against the rim while the sealant distributes to fill remaining gaps. Allow the sealant to cure for at least 24 hours before subjecting the tire to heavy use.
Test Your Repair with Professional Verification
Following reinflation, verify that the leak has been properly sealed before returning the tire to service. This final check prevents roadside emergencies from undetected persistent leaks.
Perform the soap water test again, applying the solution around the entire bead and rim interface. Watch carefully for 10-15 minutes as the solution sits on the surface. If no bubbles appear, your repair has been successful—the seal is airtight and the tire is ready for use.
If bubbles persist after your initial repair, identify the specific leak locations. Often, stubborn leaks respond to repeat cleaning and a second application of bead sealer. Sometimes the problem area simply needs more sealant, while other situations require deflating the tire, cleaning the specific problem spot more aggressively, and repeating the sealing process.
Fix Stubborn Leaks with Impact Seating Technique
When standard inflation doesn’t fully seat a stubborn bead, this professional technique often succeeds where other methods fail. Inflate the tire to approximately 30 PSI—roughly double normal operating pressure. Then pour water around the bead area to create a visible indicator of escaping air.
Working systematically around the tire, strike the tire sidewall firmly with a rubber mallet as close to the bead as possible. This impact helps the tire bead seat more firmly against the rim by overcoming resistance from minor deformities or stubborn debris. Continue working around each side of the tire until no more bubbles form in the water.
After achieving a proper seal, deflate to the correct operating pressure and re-test with soapy water to confirm the fix. This method proves particularly effective for older tires that have developed slight deformities or rims with minor surface irregularities.
Recognize When Chrome Wheels Need Professional Repair
Chrome wheels with flaking or deteriorating chrome present a special challenge that often exceeds DIY capabilities. Simple cleaning and sealing typically provides only temporary relief—the underlying deterioration continues progressing.
If your chrome wheel shows extensive corrosion beneath the plating, visible cracks, or severe pitting, professional refurbishment becomes necessary. Wheel repair specialists can remove remaining chrome, treat underlying corrosion, and apply new protective coatings that restore proper sealing surfaces. Most shops charge around $125 for this service, a reasonable investment compared to replacing wheels that cost $300+ each.
When seeking professional help, look for shops specializing in wheel repair rather than general tire stores. These specialists have access to professional-grade tools and coatings not available to consumers and understand the specific challenges of sealing chrome wheel bead leaks.
Prevent Future Rim Leaks with These Maintenance Habits
Once you’ve successfully sealed your rim leak, these preventive measures reduce recurrence likelihood:
- Clean rims monthly – Prevent corrosion buildup, particularly for chrome and alloy wheels
- Inspect rims during tire rotations – Catch developing issues early when they’re simpler to address
- Avoid road hazards – Potholes and curb impacts cause much of the wheel damage leading to bead leaks
- Verify proper installation – When getting new tires, request soap water testing before leaving the shop
- Replace valve stems regularly – Install new valve stems with each tire replacement
Regular soap water testing every 2-3 months identifies developing leaks before they result in significant pressure loss. Catching a developing leak early typically allows for simpler, less expensive repairs that take just minutes rather than hours.
Key Takeaways for Permanent Rim Leak Repair
Successfully sealing a rim leak centers on three fundamentals: thorough cleaning, proper sealing, and complete verification. The cleaning phase must remove all contaminants from both surfaces so the sealing compound achieves direct contact with clean metal and rubber. Rushing this step almost guarantees failure—the sealant cannot bond properly to contaminated surfaces.
Sealing compound selection matters significantly. Use products specifically designed for bead sealing rather than general-purpose adhesives. These specialized formulations maintain flexibility over temperature changes while providing durable adhesion to both metal and rubber surfaces.
Verification through soap water testing confirms repair success before returning the tire to service. This final check identifies any remaining leak points requiring additional attention, preventing roadside emergencies from undetected persistent leaks.
When DIY approaches prove insufficient, professional wheel repair provides access to specialized equipment and expertise capable of addressing more challenging situations. By following these methods carefully, most drivers can resolve rim leaks without professional assistance, saving money while gaining the satisfaction of a job done right.


