
Tire flats rank among the most frustrating experiences for cyclists, disrupting rides and leaving you stranded at the worst possible moments. Fortunately, learning how to install tire liners properly gives you a reliable, affordable solution that creates a protective barrier between your inner tube and road debris. Whether you ride a road bike with narrow tires or a mountain bike with fat rubber, these puncture protectors offer lasting defense against thorns, glass, and other hazards without the mess of sealant systems. This guide walks you through every step of how to install tire liners correctly, from preparation through final verification, so you can ride with confidence knowing your tubes are properly shielded against common puncture threats.
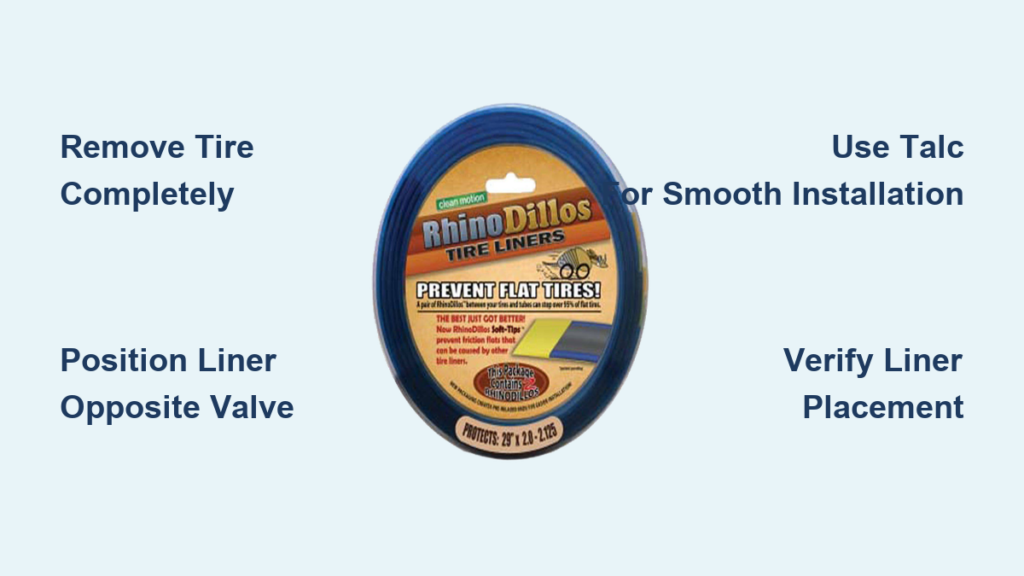
Before we dive into the installation methods, it’s worth understanding what tire liners actually do. These protective strips—most commonly recognized under the Mr. Tuffy brand, though Slime and other manufacturers make similar products—sit between your inner tube and the tire tread, absorbing impact from objects that penetrate through the rubber before they reach your tube. Unlike rim strips, which protect against spoke nipples and rim imperfections, tire liners specifically defend against external punctures entering through the tread. This distinction matters because many cyclists confuse the two products, leading to improper installation and continued flat problems.
The installation process varies depending on your experience level and the method you choose. What remains constant across all approaches is the importance of proper positioning, adequate lubrication, and post-installation verification. Take your time with your first how to install tire liners attempt, and you’ll develop a technique that works reliably for future tube changes and liner replacements.
Gather Your Installation Materials
Successful how to install tire liners process starts with having everything you need within reach. Attempting to install liners without proper materials leads to frustration, improper positioning, and potentially damaged components. Before you begin, round up your tire liners, inner tubes, and the tools required for tire removal.
Your essential materials include the tire liners themselves, which should be sized appropriately for your tire width. Most liners are designed as “one size fits most” products, meaning you may need to overlap the ends slightly to achieve complete coverage around your specific tire circumference—this overlap is perfectly acceptable and ensures full protection. You’ll also need your inner tube, which should be partially inflated to give it shape during installation. A completely flat tube proves difficult to position correctly, while an overinflated tube makes tire mounting nearly impossible.
The right tools make the difference between a smooth installation and a frustrating struggle:
- Tire levers for breaking the tire bead away from the rim
- Floor pump with pressure gauge for proper inflation
- Talcum powder or similar lubricant to reduce friction between components
- Work surface where you can lay the tire flat
Prepare Tire Liners and Tools
Proper preparation of your materials before installation saves time and frustration throughout the process. Tire liners often arrive stored in packaging that causes them to curl, making them difficult to position flat against the tire interior. If your liners have taken on a curl from their packaging, leaving them in direct sunlight for a period helps straighten the material. This warming process makes the liners more pliable and significantly easier to position correctly inside the tire casing. One cyclist reported that after sun-warming their Mr. Tuffy liners to remove the curl, they achieved proper installation without the struggle experienced with cold, curled liners.
While your liners warm in the sun, take the opportunity to inspect them for any damage or defects. Check for cracks, tears, or areas where the material has become thin or compromised. Damaged liners won’t provide adequate protection and should be replaced rather than installed. Similarly, inspect your inner tubes for existing damage, patches that may not hold, or valve issues that could cause problems after installation.
Prepare your partially inflated inner tube by adding just enough air to give it shape without making it rigid. The tube should hold its form loosely, allowing you to position it inside the tire casing without it bunching or folding. Some installers find that applying a light coating of talcum powder to the outside of the tube helps the liner slide into position more easily and prevents premature adhesion between the components.
Full Tire Removal Method

The complete tire removal approach provides maximum access and control during installation, making it the recommended method for beginners or anyone working with unfamiliar tire and rim combinations. While this method requires more initial effort, it reduces the likelihood of improper liner positioning that can lead to flats or premature tube wear.
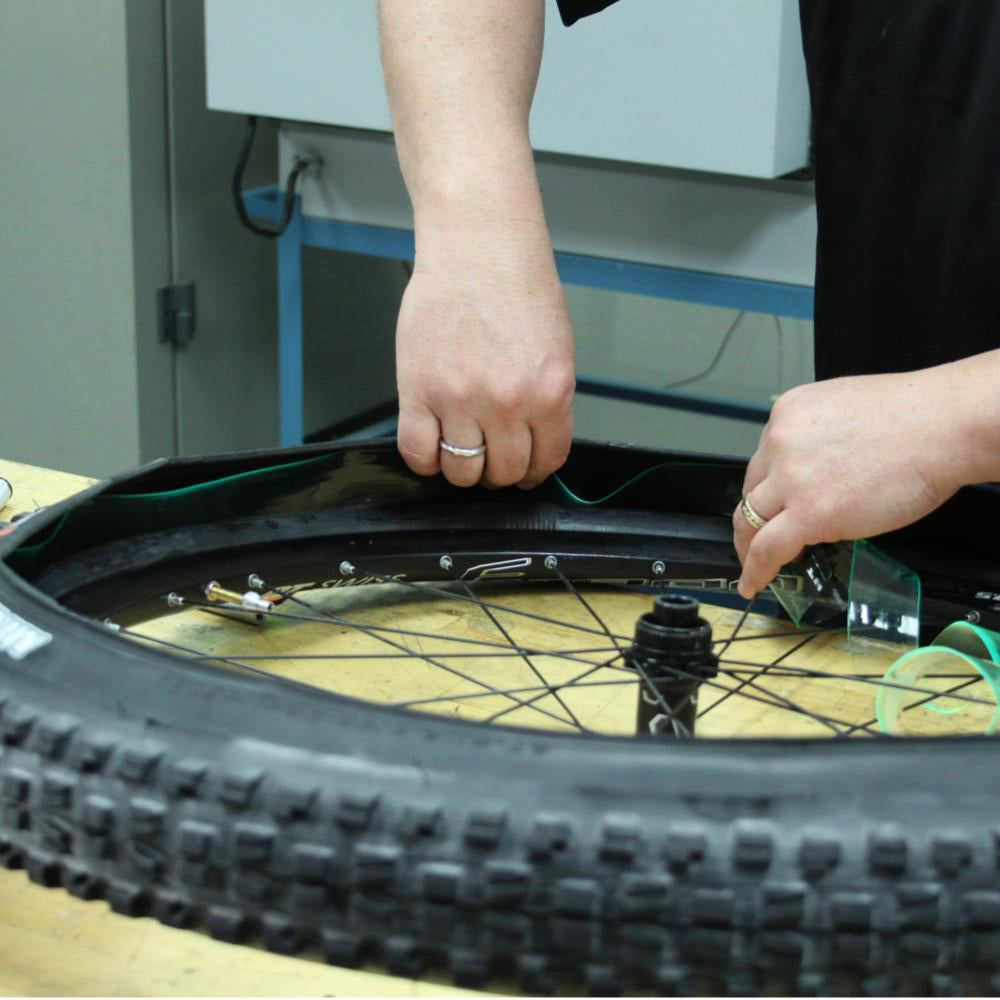
Begin by removing the entire tire from the rim. Work the tire bead away from the rim using your tire levers, being careful not to pinch or damage the inner tube during this process. Once the tire is completely off the rim, lay it flat on the floor or a clean work surface. This stable positioning gives you a clear view of the interior and allows you to see exactly where the liner is being positioned throughout the installation.
With the tire laid flat, stuff the partially inflated inner tube into the tire casing, ensuring it is evenly distributed inside the tire with no bunching or folding. Now, insert the tire liner between the tire and the tube, positioning it along the bottom of the tire where the tread makes contact with the ground. Ensure the liner is centered all the way around the tire circumference, with the ends positioned opposite the valve hole in the rim. This placement prevents the overlap from creating pressure on the valve area and makes it easier to verify that the liner is properly seated. Starting at the valve stem, install the assembled tire and tube onto your rim as a complete unit, then inflate to the recommended pressure.
Partial Installation Technique
Once you’ve mastered the full removal method, you may want to explore the partial installation technique, which can be faster once developed but requires more skill to execute properly. This approach leaves one side of the tire on the rim during liner installation, using gravity and careful positioning to achieve proper alignment.
Install one side of the tire onto the rim first, working the bead over the rim edge until that entire side is seated. Then install the tire liners with the ends positioned opposite the valve hole in the rim, exactly as you would with the full removal method. This method works best when the rim is lying flat, giving you gravity as an ally in keeping the liner in position while you work.
Install the tube with a small amount of air in it, positioning the tube inside the tire and ensuring it is not twisted or bunched. Reposition the liner if necessary to ensure it is properly aligned along the tread area that contacts the ground. Finish mounting the remaining side of the tire onto the rim, working the bead over the rim edge carefully to avoid pinching the tube or displacing the liner. This final step requires patience and often works best using your thumbs rather than tire levers to avoid damaging the tube.
Position Liners Correctly

Proper positioning of your tire liners affects both installation ease and long-term reliability. The overlap point where the liner ends meet requires particular attention, as improper positioning can lead to tube abrasion and premature failure. Always position the liner ends opposite the valve hole in the rim. This placement prevents the overlap from creating pressure on the valve area and simplifies your ability to verify that the liner is properly seated after installation.
When using “one size fits most” liners, you’ll need to overlap the ends slightly to achieve proper coverage for your specific tire size. This overlap is completely acceptable and actually ensures complete protection around the entire circumference of the tire. However, be aware that the edge of the liner at the overlap point can abrade a hole in the tube as the wheel turns over time. To mitigate this issue, consider using heavy-duty or thicker tubes to extend the time between flats caused by this abrasion.
Using talc or a similar lubricant dramatically improves the installation experience and the long-term performance of your setup. Abundant talc applied to the tube allows the assembled tire to roll more freely during installation and can help the liner center itself inside the casing naturally. After inflating, roll the assembled tire around before riding, pressing the tire down as if riding on a flat surface.
Verify Proper Installation
Taking time to verify proper placement after installation prevents issues during your ride and catches positioning errors before they cause flats. Run your fingers around the outside of the tire, particularly if you have tires with thin sidewalls. You may be able to feel the edges of the liner from the outside, confirming it is positioned correctly and hasn’t shifted during the installation process.
If you suspect the liner has shifted after initial inflation, deflate partially and use the two-finger pinching method around the tire circumference to adjust its position. This hands-on verification ensures the liner sits where it should—in the tread area that contacts the ground—rather than having migrated to the sidewall or another ineffective position. The pinching motion also helps work out any wrinkles or folds in the liner that could create pressure points or uneven protection.
With time and use, the liner tends to stick to the tire, eliminating the need for careful repositioning during future tube changes. The material conforms to the shape of the tire interior and the overlap adheres to itself, creating a more permanent installation that still provides easy access when you need to remove the tube for repairs or replacement.
Address Common Challenges
Many cyclists report that tire liners can be challenging to install the first few times, but persistence and proper technique resolve most difficulties. One experienced user who has been running Tuffys for over 20 years with no mounting problems recommends simply mounting the liner and getting it the whole way around the inside of the tire fairly evenly, then mounting the tire and tube as normal. This same user has successfully installed liners on tires ranging from 23mm road tires to 2.50-inch mountain bike tires, demonstrating that the technique adapts to various sizes with practice.
Liner curling remains a common challenge, particularly for liners that have been stored in packaging. Beyond the sun-warming technique mentioned earlier, patience also helps. The pressure from the inflated tube will eventually force a curled liner to lie flat, though this may take a few hours or a short ride to fully resolve. If a curled liner causes immediate installation difficulties, don’t force it—deflate, reposition, and reinflate, allowing the natural pressure to gradually work the curl out of the material.
While some cyclists have experimented with adhesive methods, including using spray adhesive with talc on the tubes or double-sided tape, these approaches are generally not recommended by the cycling community. The consensus is that tire liners should stay in place through friction and pressure without requiring additional adhesive, which can complicate future maintenance and tube changes.
Tire liners remain an effective, affordable, and mess-free solution for preventing tread-side punctures across a wide range of tire sizes and riding conditions. With proper installation technique and periodic maintenance, they can provide years of reliable flat prevention, keeping you riding instead of walking. The key to success lies in patient installation, proper positioning, and regular inspection—principles that apply whether you’re installing your first set of liners or your fiftieth. Keep your spare tubes and patch kit handy even with liners installed, as no puncture protection system is perfect.


