
That frustrating black streak across your car door—the one that appeared after someone opened their door into your tire or while parking in a tight spot—is more than just an eyesore. This stubborn rubber transfer has mechanically bonded to your clear coat at a microscopic level, making it resistant to regular washing. Unlike simple dirt, these marks require specific techniques to remove without damaging your paint. Whether you’re dealing with a fresh transfer from yesterday’s parking lot mishap or an older mark that’s had time to set in, this guide delivers proven solutions that actually work.
Understanding why standard car washes fail is the first step to successful removal. Rubber particles create a physical bond with your paint surface that soap and water can’t break. Aggressive scrubbing only risks swirl marks and paint damage. The right approach depends on mark severity, your paint type, and how long the rubber has been present. You’ll learn exactly which methods work for different scenarios, saving you time, money, and potential damage to your vehicle’s finish.
Gather Your Essential Tire Mark Removal Supplies First
Before attempting removal, assemble these critical tools within arm’s reach to avoid mid-process interruptions. Multiple clean microfiber cloths are non-negotiable—you’ll need fresh surfaces for each application to prevent redepositing removed material. Unlike regular towels, microfiber’s unique structure traps contaminants rather than spreading them across your paint.
Your most powerful weapon against rubber transfers is a quality automotive clay bar. Brands like ClayMagic, Mother’s, or Griots Garage clay work by adhering more strongly to the rubber particles than your paint does, physically lifting them from surface pores. Many detailers recommend buying two bars since one often isn’t sufficient for complete jobs. Never substitute generic modeling clay—it lacks the proper formulation and lubricant compatibility.
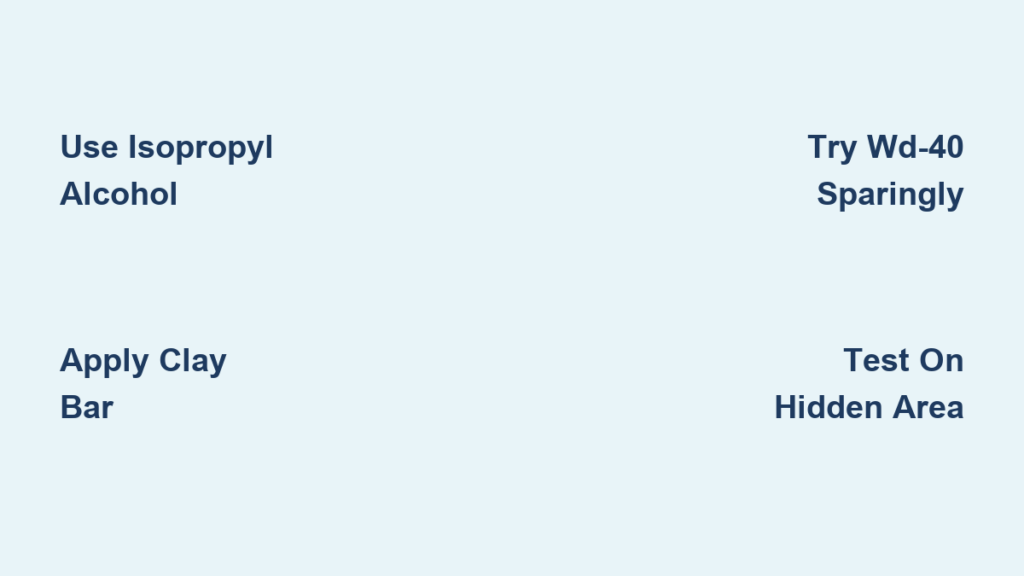
Don’t forget dedicated clay lubricant, which creates the essential slick surface allowing the clay to glide smoothly. Diluted car wash soap serves as a budget alternative, but specialized lubricants prevent marring during the process. For stubborn cases, have isopropyl alcohol (IPA) ready in a spray bottle, along with foam applicator pads for compound application. Working with everything organized transforms a frustrating chore into an efficient, successful operation.
Why Proper Washing Must Come Before Mark Removal
Skipping this critical step guarantees poor results. Begin with a thorough wash using pH-neutral car shampoo specifically designed for automotive finishes—household dish soaps strip protective wax and leave residues that interfere with mark removal. Implement the two-bucket method: one bucket for soapy water, another for rinsing your wash mitt. This simple technique prevents dirt from being redeposited onto your paint surface.
Work from top to bottom, allowing gravity to carry dirty rinse water away from already-cleaned sections. Pay special attention to the affected door area, gently agitating with your mitt to loosen surface contaminants. After washing, rinse completely until water sheets off uniformly—any remaining soap film creates barriers that prevent treatments from contacting the rubber transfers directly.
This washing process serves two additional purposes: it reveals the true extent of damage (sometimes surface contaminants exaggerate appearance), and it prevents loose debris from being rubbed into your paint during the removal process. A clean, dry surface allows you to accurately assess what you’re dealing with and select the most appropriate removal method.
Isopropyl Alcohol: Your First-Line Defense Against Fresh Marks

For recent rubber transfers, isopropyl alcohol provides an effective, accessible starting point that often eliminates the need for more aggressive methods. Dampen a clean microfiber cloth with IPA—saturated but not dripping—and work the affected area using gentle circular motions. Apply only modest amounts to prevent spreading beyond the target zone, which could affect surrounding paint.
Allow the alcohol 30-60 seconds to penetrate the rubber compound before wiping. You’ll notice the mark beginning to break down as the solvent disrupts the molecular bond. For persistent areas, repeat the process, giving the IPA additional dwell time between applications. Periodically flip to a fresh microfiber surface to avoid redepositing removed material.
If the mark disappears after one or two applications, wipe the area with a clean damp cloth to remove any residue, then dry thoroughly. Success at this stage means you’ve avoided more intensive methods that could potentially damage your paint. However, if the mark persists after three applications, you’re dealing with deeper bonding requiring mechanical intervention.
Clay Bar Technique for Stubborn Rubber Transfers
When chemical treatments fall short, clay bar application delivers remarkable results by physically extracting rubber particles from your paint’s pores. Begin by spraying generous lubricant over the affected area—insufficient lubrication causes the clay to grab and drag across the surface, potentially marring your finish. Using light to moderate pressure, glide the clay bar across the lubricated surface in straight-line motions rather than circles.
You’ll feel resistance as the clay encounters contaminants, which will gradually diminish as the surface becomes smoother. Every 30 seconds, fold and knead the clay to expose fresh, clean surfaces—never reuse a section that has picked up visible debris. Dropping the clay onto any surface requires immediate replacement; attempting to clean it reintroduces contaminants that scratch your paint.
Continue working the area until the clay glides smoothly with no resistance and no more residue is being picked up. This indicates complete decontamination. Wipe the area with a clean microfiber towel to remove remaining lubricant, then proceed to final finishing steps. Most stubborn tire marks yield to this method without requiring more aggressive approaches.
WD-40 and Acetone: Powerful Solvents for Tough Cases

For deeply bonded marks resistant to initial treatments, WD-40 offers surprising effectiveness when used correctly. Apply sparingly directly to the mark or onto your cloth—never saturate the area. Allow it to dwell for 15-30 seconds before gently wiping with a clean microfiber cloth. Critical precautions include using minimal amounts to prevent spreading, wiping off promptly rather than allowing extended contact, and following with a thorough wash to remove residue.
Acetone (nail polish remover) provides stronger solvent action for severe cases but demands significant safety measures. Dampen a cloth slightly, apply to the mark, and allow 2-3 minutes for penetration before wiping. Always wear gloves, ensure proper ventilation, and test on an inconspicuous area first—some paint systems react adversely. Discard used cloths properly by spreading them flat to dry; bunched solvent-soaked rags can spontaneously combust.
These solvents work by breaking down the rubber compound at a molecular level, but they’re not first-choice solutions. Reserve them for marks unresponsive to gentler methods and always follow with a complete wash and wax to restore protection.
Commercial Rubber Removers Worth Your Money
Dedicated rubber removal products like Turtle Wax tar remover deliver targeted solutions designed specifically for this problem. These formulations contain solvents that attack rubber compounds while being gentle on clear coat. Spray directly onto the mark, allow 1-2 minutes of dwell time, then wipe with a clean microfiber cloth using moderate pressure.
Unlike household alternatives, these products come with precise usage instructions—follow them exactly. Most require application to cool, dry surfaces and thorough rinsing afterward. Some recommend subsequent waxing to restore the protective layer removed during cleaning.
For track-day vehicles with extensive contamination, professional-grade detailers use industrial-strength solvents unavailable to consumers. When home methods fail despite thorough attempts, professional intervention provides access to more aggressive compounds and equipment that can save your paint from further damage.
Magic Eraser: Surprising Solution With Significant Risks

Mr. Clean Magic Eraser works through mild abrasive action similar to very fine wet-sanding, physically lifting stubborn contaminants. Dampen the eraser slightly with water, wring out excess, and gently rub the affected area with light pressure. The eraser will shed white foam material—this is normal and wipes away easily.
Use extreme caution with this method: aggressive application or use on soft paint leaves visible marring. Always test in an inconspicuous area first and reserve this approach for marks unresponsive to gentler methods. The abrasive nature explains both its effectiveness and its risks—it’s essentially performing light wet-sanding on your paint surface.
Preventing Future Tire Marks: Smart Strategies That Work
Regular waxing every four to six weeks creates a protective barrier that prevents rubber from bonding strongly to your paint. Fresh wax fills clear coat imperfections, creating smoother surfaces that resist contamination adhesion. For maximum protection, consider professional paint protection film installation on high-contact areas like door edges.
Parking awareness significantly reduces exposure—position your vehicle to minimize traffic proximity and avoid parking directly adjacent to curbs. In parking lots, select spaces providing buffer zones between your vehicle and traffic lanes. These simple choices substantially reduce your risk of encountering conditions that cause tire marks.
When to Call a Professional Detailer Instead
Professional intervention becomes necessary when home attempts cause paint damage like swirl marks or removed clear coat, or when marks persist despite multiple treatments. Extensive contamination from track days often requires professional-grade compounds and machine polishers beyond typical home capabilities.
If uncertainty exists about your vehicle’s paint system—particularly with older or previously repaired surfaces—professional assessment prevents well-intentioned DIY efforts from causing greater harm. While professional correction costs more than proper DIY treatment, it becomes the economical choice when home methods have already damaged your paint.
Tire marks on your car door require patience and the right approach, but complete removal is achievable with proper techniques. Start with isopropyl alcohol for fresh marks, progress to clay bar treatment for stubborn transfers, and only escalate to solvents or compounds when necessary. Always test methods in inconspicuous areas first and prioritize paint preservation over aggressive shortcuts. By following these proven techniques and implementing prevention strategies, you’ll maintain your vehicle’s appearance while avoiding costly professional repairs. Remember that regular waxing creates the best defense against future marks, making removal easier should they appear again.


