
Your tires are your vehicle’s only contact with the road, and their tread depth directly affects your stopping distance, handling, and safety in wet conditions. Knowing how to measure tire tread with a ruler is a simple but essential skill that can prevent accidents, save money on premature replacements, and keep you legal on the road. Most drivers don’t realize their tread depth has dropped significantly until it’s dangerously low—yet checking takes less than five minutes with nothing more than a standard ruler you already have in a drawer.
This guide walks you through the complete process of measuring tire tread with a ruler, from preparation through interpretation. You’ll learn exactly where to measure, how to read your ruler correctly, what the numbers mean for your safety, and when it’s time to replace your tires. Whether you’re buying a used car, preparing for a road trip, or just performing routine maintenance, these steps will give you precise tread depth readings without needing specialized tools. Mastering how to measure tire tread with ruler ensures you never drive on dangerously worn rubber.
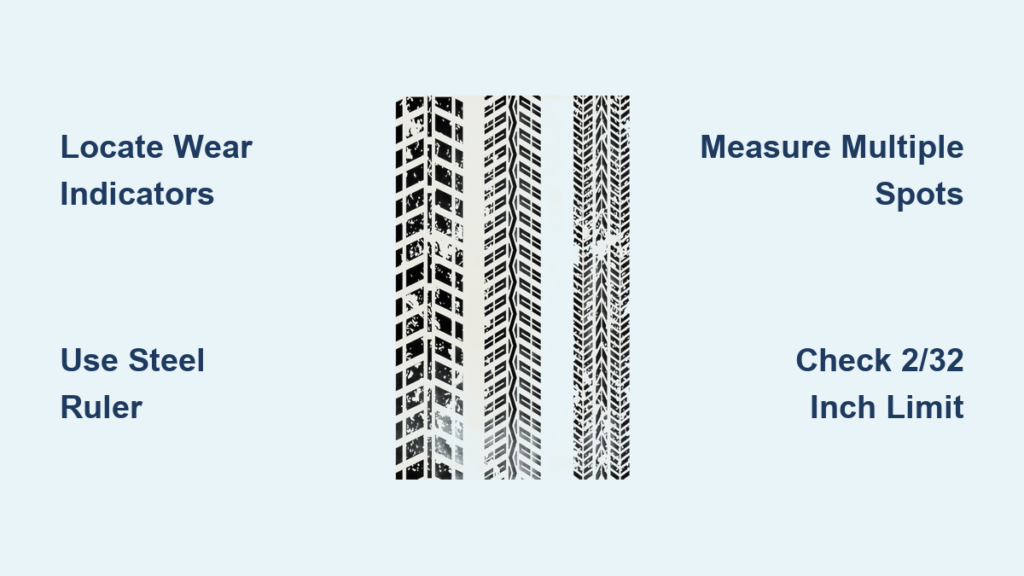
Check Tire Tread Wear Indicators First
Before you grab a ruler, take a moment to locate your tire’s built-in tread wear indicators. These small raised bars molded directly into the grooves show when your tread has reached the minimum safe depth of 2/32 inch (1.6mm). Look for the letters “TWI” or a tiny triangle symbol on your tire’s sidewall—this marks where the wear indicators sit across from the tread surface.
Follow that indicator mark to the groove and you’ll see a small rubber bar sitting at the bottom. If your tread rubber is flush with this bar, you’ve reached the legal minimum depth. This quick visual check takes seconds and gives you an immediate baseline before you measure with your ruler. It’s an essential first step in how to measure tire tread with ruler accurately.
Pro tip: Take a photo of your tread with the indicator visible. This creates a visual reference for future comparisons and helps you track exactly how much tread you’ve lost since your last inspection. If you can’t see these indicators clearly, wipe the tire with a damp cloth to remove road grime.
Gather Your Measurement Tools
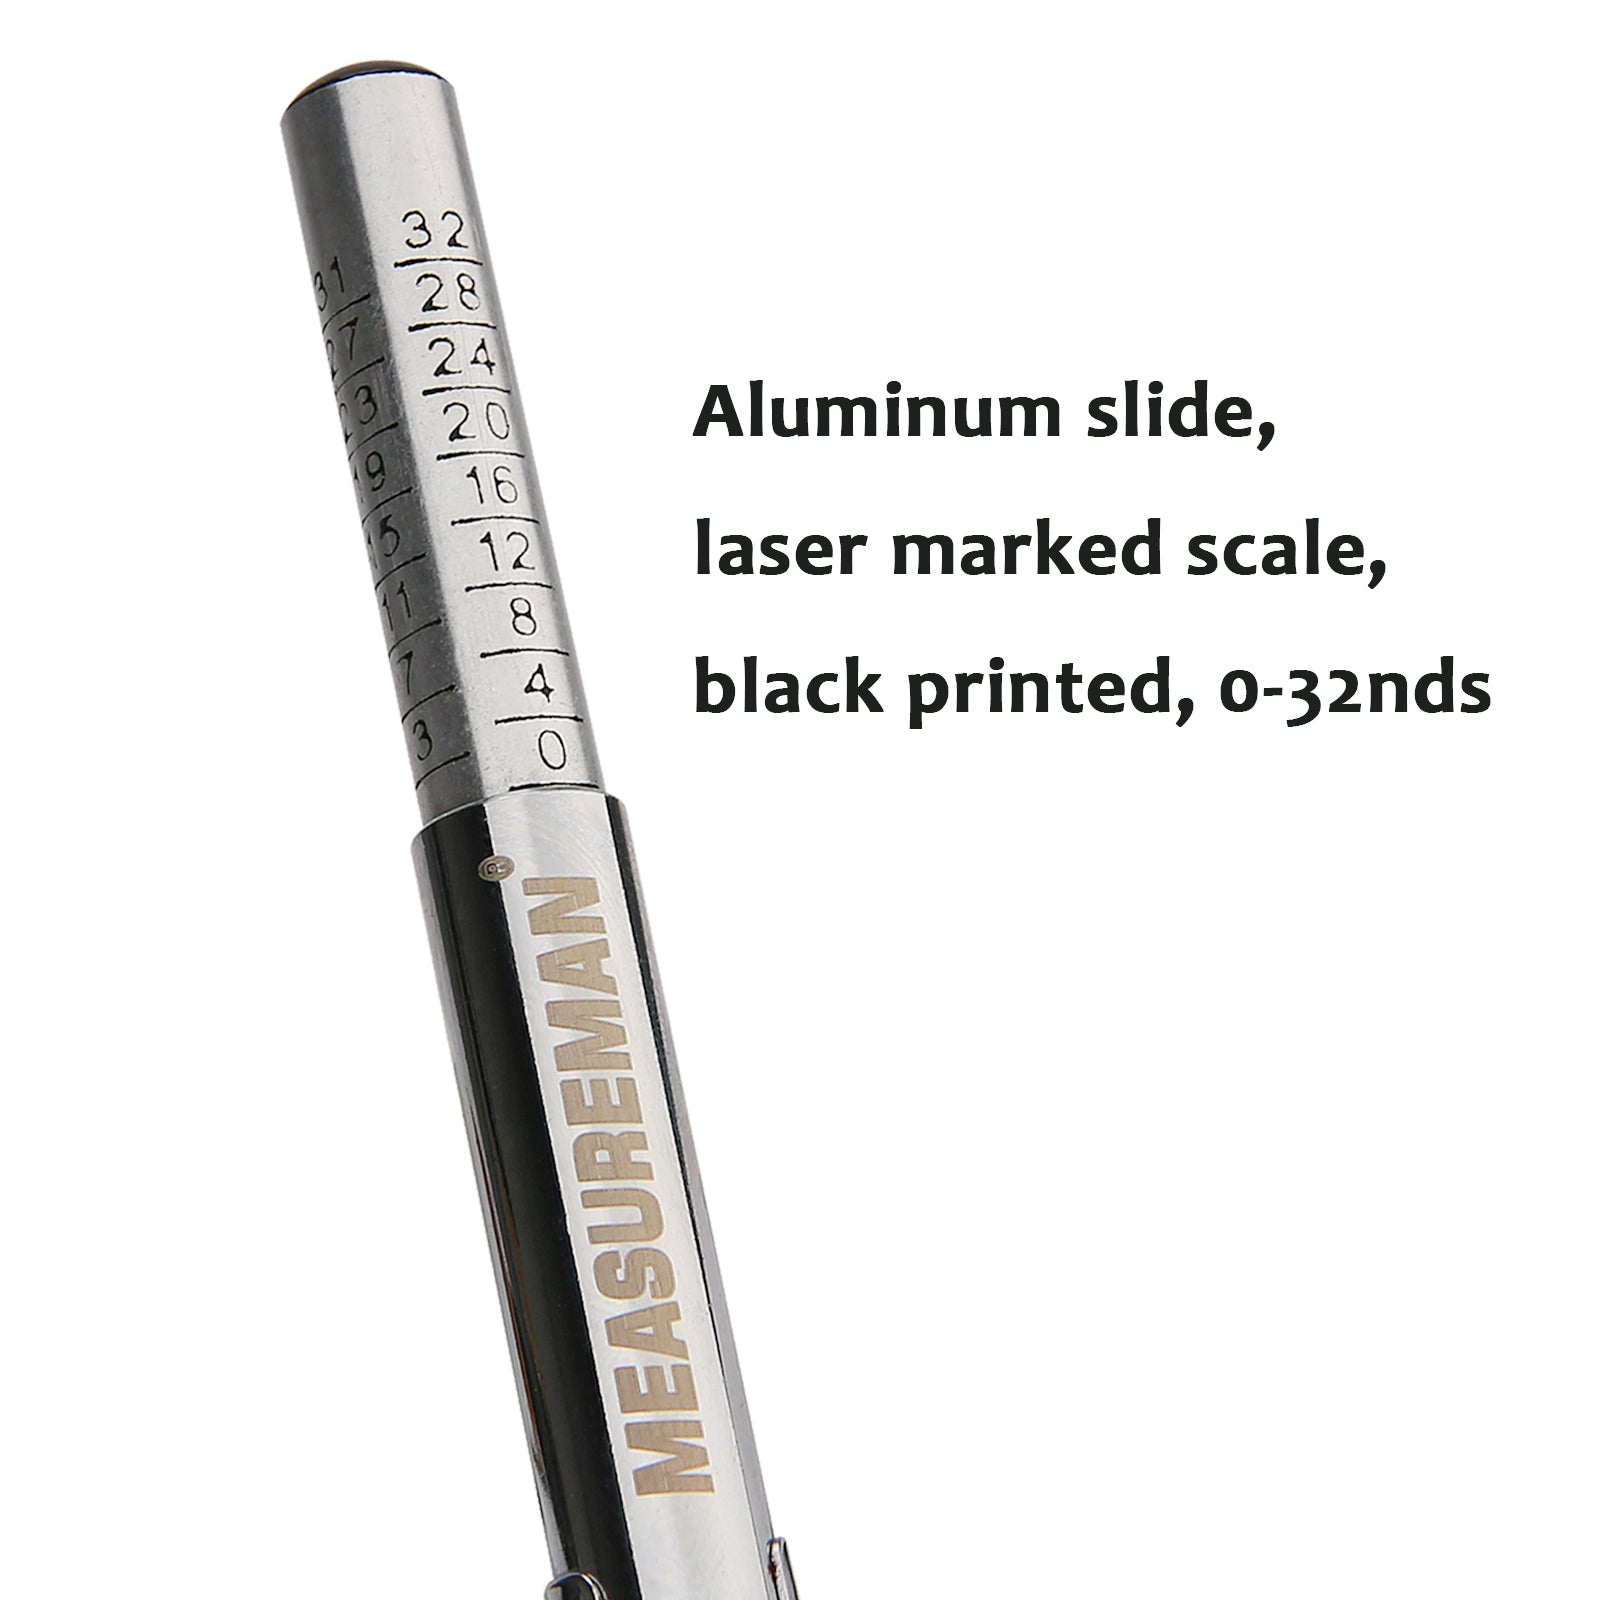
The beauty of measuring tire tread with a ruler is that you don’t need anything specialized—a simple ruler from your desk drawer works perfectly. However, selecting the right ruler makes all the difference in getting precise readings. For imperial measurements (what most American drivers need), choose a steel ruler with 1/32 inch markings. These rulers give you the precision required to distinguish between safe and unsafe tread depths.
Before you begin, gather a few additional items. A clean rag helps you wipe debris from the tread groove so you’re measuring actual rubber depth, not embedded dirt or stones. A flashlight makes it easier to see the ruler markings at the bottom of dark grooves. If you’re unsure about your ruler’s accuracy, consider using a digital caliper for precision down to a thousandth of an inch—though this isn’t necessary for basic tread measurement.
Quick tool checklist: 6-inch steel ruler with 1/32″ markings, clean rag, flashlight, and a notepad for recording numbers. This simple toolkit transforms how to measure tire tread with ruler from guesswork to precise science.
Prepare Your Vehicle Properly
Proper preparation ensures your measurements are accurate and consistent. Park your vehicle on a level surface like a driveway or garage floor. Uneven ground can cause weight redistribution that slightly compresses one tire’s tread, giving artificially low readings. Let your tires cool down if you’ve recently driven—driving even one mile heats the air inside your tires and causes slight pressure expansion.
Check your tire pressure before measuring, and inflate all four tires to the manufacturer’s recommended PSI (found on the driver’s side door jamb sticker). Under-inflated tires show more wear on the outer edges, while over-inflated tires wear more in the center. Starting from proper inflation gives you a consistent baseline for comparing wear patterns across tires and over time.
Critical warning: Never measure tread on a hot tire immediately after driving. The rubber is slightly compressed, and you could get readings that appear safer than your actual tread depth. Wait at least two hours after driving for the most accurate results when you measure tire tread with ruler.
Position Ruler Correctly
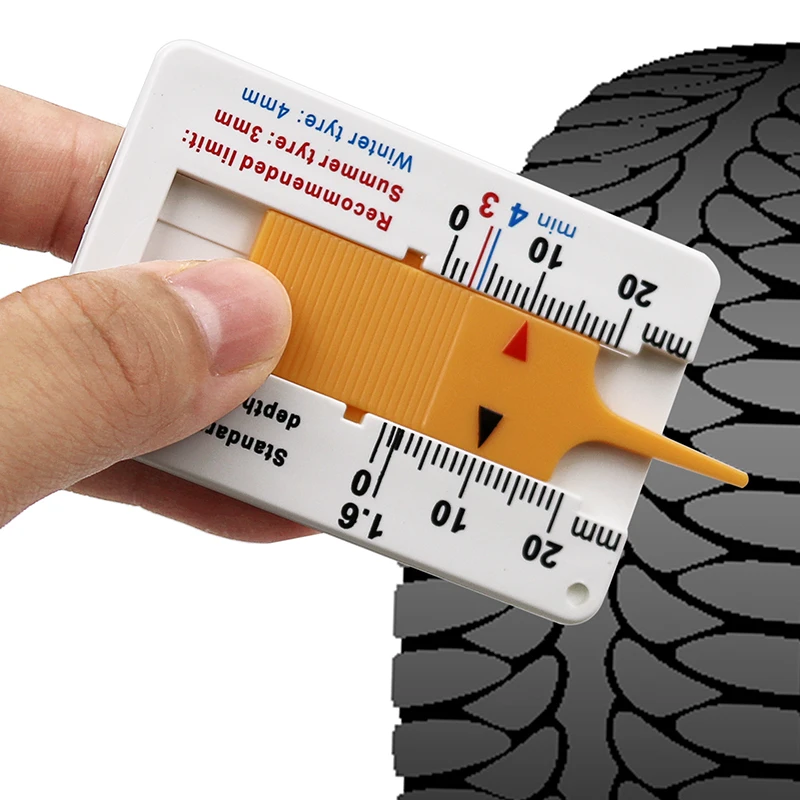
The most common mistake in measuring tire tread with a ruler is improper ruler positioning. Hold your ruler vertically and insert it straight down into the tread groove until the zero end rests firmly against the bottom of the groove. The bottom of the groove is your reference point—where the tread rubber meets the groove’s lowest point.
Keep the ruler perfectly perpendicular to the tire’s surface. Angling the ruler even slightly will give you an artificially high reading because you’re measuring at an angle rather than straight down. You should see the ruler’s edge running parallel to the tread blocks on either side of the groove. If the ruler leans toward the front or back of the tire, straighten it before reading.
Expert note: For deeply grooved tires, you may need to press firmly to ensure the ruler reaches the bottom. The rubber tread blocks are resilient and will compress slightly under pressure—that’s normal and expected when you measure tire tread with ruler.
Read Tread Depth Accurately
Once your ruler is properly positioned, reading the measurement is straightforward—but the details matter. For imperial rulers marked in 32nds, the major marks typically show 1/16-inch intervals, and the smallest lines represent 1/32 inch. Read the measurement at the level of the tread rubber, counting up from your zero point at the groove bottom.
A typical new tire shows 10/32 to 12/32 inch, meaning you’ll count roughly 10-12 of the smallest marks from the bottom. If your reading falls between two marks, estimate the fraction—for example, halfway between 5/32 and 6/32 is approximately 5.5/32. For metric rulers, the process is identical but uses millimeters. New tires typically measure 8-10mm, with the minimum legal limit at 1.6mm.
Common conversion reference: 2/32 inch equals 1/16 inch (1.6mm), 4/32 inch equals 1/8 inch (3.2mm), and 6/32 inch equals 3/16 inch (4.8mm). Mastering these conversions is crucial when you measure tire tread with ruler consistently.
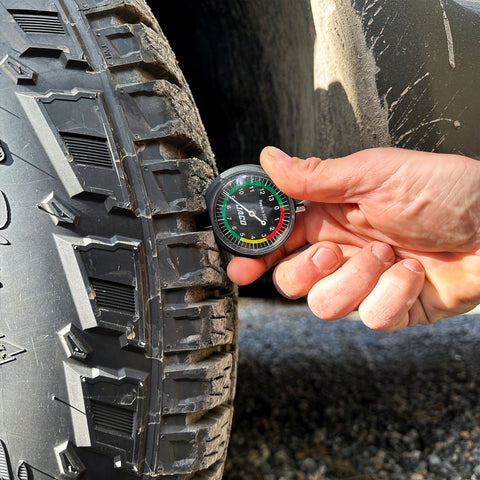
Measure Multiple Tire Locations
A single measurement doesn’t tell the whole story. Tires wear unevenly due to alignment geometry, suspension angles, and driving habits, so you need multiple readings across the tire’s circumference and width to get an accurate picture.
For each tire, take measurements in at least three locations around the circumference: one at the outer edge, one in the center, and one at the inner edge. This three-point check reveals whether your tire is wearing evenly or developing problem patterns. On tires with multiple grooves, measure each major groove and calculate the average.
Record each measurement separately in your notepad or phone. Don’t just average them—documenting individual readings lets you identify specific wear patterns. If your left-side measurements are significantly lower than your right-side measurements on the same axle, you likely have a camber issue.
Pro tip: Create a simple table in your phone’s notes app with columns for date, mileage, and depth readings for each tire position (LF, RF, LR, RR). This historical record makes it easy to calculate wear rates and predict replacement timing when you measure tire tread with ruler regularly.
Interpret Your Measurements
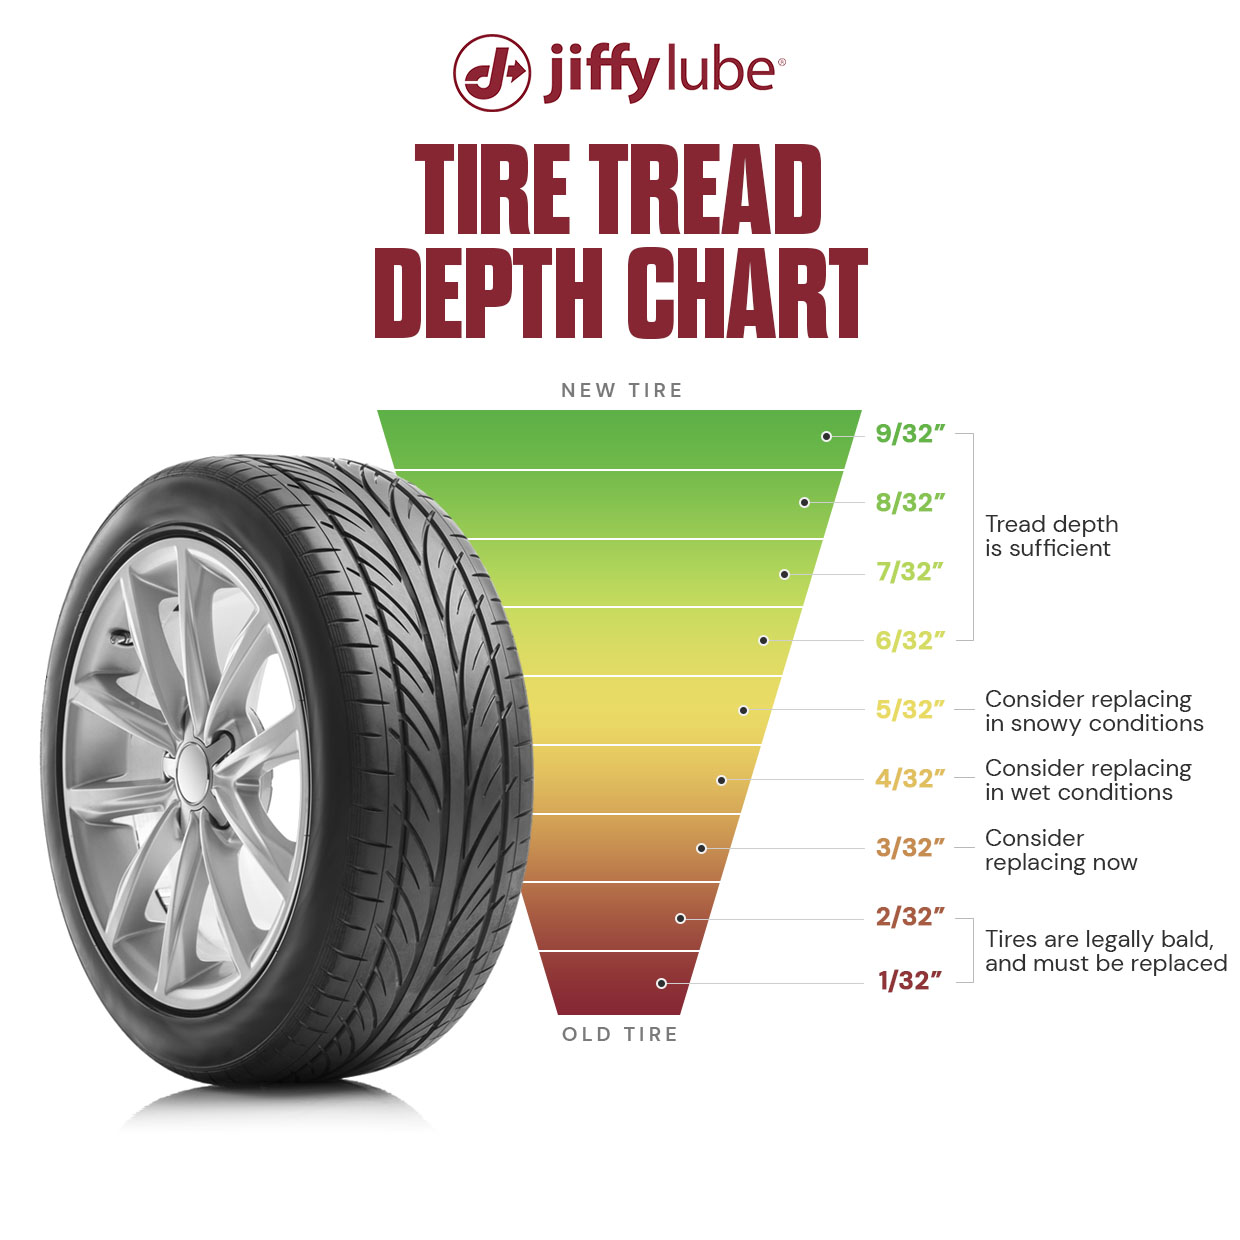
Now that you have your numbers, what do they actually mean for your safety? Tread depths above 6/32 inch (4.8mm) represent optimal performance in both wet and dry conditions. Your tires have maximum grip, hydroplaning resistance is at its peak, and you can expect predictable handling in emergency maneuvers.
When tread depth reaches 4/32 to 6/32 inch (3.2-4.8mm), you’re entering the maintenance zone. Dry performance remains acceptable, but wet traction starts to degrade noticeably. Stopping distances increase on wet pavement, and hydroplaning resistance drops significantly. If you live in a rainy climate or do highway driving, start shopping for replacement tires now.
Tread depths between 2/32 and 4/32 inch (1.6-3.2mm) require immediate attention. Wet traction is marginal at best, and your stopping distance in rain can double compared to a tire with full tread. Most states consider 2/32 inch the absolute legal minimum—you’re not just risking your safety, you’re risking a ticket.
Any measurement at or below 2/32 inch (1.6mm) means your tire is legally worn out and dangerously unsafe. Replace all tires on the affected axle immediately when you measure tire tread with ruler and get this reading.
Track Tread Wear Over Time
Single measurements tell you where you are today, but tread tracking tells you where you’re going. Mark your calendar to measure tread depth every oil change, or roughly every 5,000 to 7,500 miles depending on your driving schedule.
Calculate your wear rate by dividing the total tread lost by the miles driven since your last measurement. Most passenger vehicle tires wear at a rate of 1/32 inch per 5,000 to 8,000 miles under normal driving conditions. High-performance tires, aggressive driving habits, and severe weather conditions can accelerate wear to 1/32 inch per 3,000 to 5,000 miles.
Use your tracking data to predict replacement timing. If a tire has lost 4/32 inch over 20,000 miles and currently measures 6/32 inch, you can expect to reach the 2/32 inch minimum in approximately 10,000 more miles.
Money-saving strategy: Many tire retailers offer price matching or seasonal sales. Knowing your replacement timeline weeks or months in advance lets you catch these promotions instead of paying full price for emergency replacements when you measure tire tread with ruler consistently.
Replace Tires at the Right Depth
The 2/32 inch minimum is your absolute deadline, but waiting that long is poor practice. For passenger vehicles in moderate climates, consider replacement when tread reaches 4/32 inch. This provides a safety margin for unexpected trips, ensures adequate wet weather performance, and gives you time to shop for the best prices.
If you frequently drive in rain, snow, or on high-speed highways, replace tires at 5/32 or 6/32 inch. Wet traction degrades progressively as tread wears, and the difference between 6/32 and 4/32 inch can mean the difference between a controlled stop and a skid. Winter tires should be replaced even earlier—once tread reaches 5/32 inch.
When you do replace, install new tires in pairs on the same axle. If you can only afford two tires now, put them on the rear axle regardless of whether your vehicle is front-wheel or rear-wheel drive—rear traction is more critical for stability during hard braking.
Regular tread measurement with a ruler takes five minutes, costs nothing, and provides data that keeps you safe and saves you money. Make it part of your routine maintenance, track your results over time, and never be caught off guard by unexpectedly worn tires. Your vehicle’s contact with the road depends on it—literally. Mastering how to measure tire tread with ruler is one of the simplest yet most valuable skills every driver should have.


