
Flat tires happen at the worst possible times—on a quiet country road during your morning commute, in a crowded parking lot, or right before an important trip. Green slime tire sealant has been a trusted solution for drivers, cyclists, and powersport enthusiasts for decades, offering a reliable way to seal punctures and prevent flats from ruining your day. Learning how to put green slime in a tire is a straightforward DIY skill that can save you time, money, and the hassle of roadside tire changes. Whether you’re dealing with an active puncture, performing preventive maintenance, or preparing a vehicle for extended storage, this guide walks you through every step of the process with clear instructions and expert tips.
Before diving into the procedure, it’s important to understand what green slime actually does and why proper application matters. Slime-brand tire sealant is a latex-based formula that coats the inside of your tire. When a puncture occurs, the centrifugal force of the spinning tire pushes the sealant toward the hole, where it plugs the gap and creates a flexible, waterproof seal. This same mechanism works during application—the sealant needs to distribute evenly across your tire’s interior to be effective when you need it most. Taking your time with each step ensures optimal coverage and long-lasting protection.
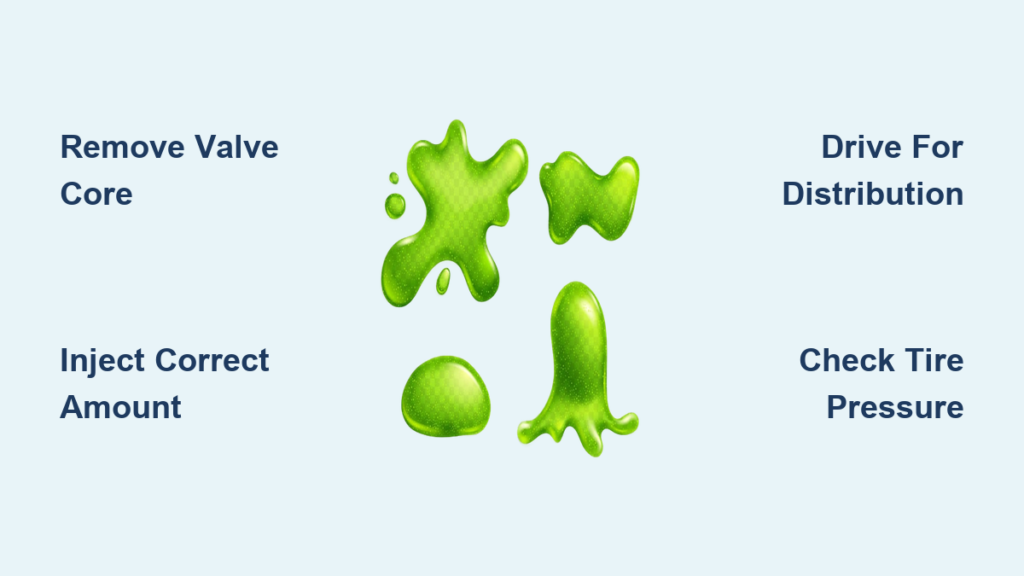
Prepare the Necessary Slime Application Tools

Having all equipment ready before starting prevents mid-process frustrations. For standard green slime application, you’ll need the appropriate size container—16-ounce or 32-ounce containers work best for passenger cars, while trucks and RVs require larger quantities. The essential valve core removal tool resembles a small pin with a handle that screws into the valve stem to extract the internal core. Without this specialized tool, proper slime injection through the valve is impossible.
Don’t forget your inflation equipment. A quality hand pump or air compressor is necessary for post-application inflation, and a reliable pressure gauge ensures you hit the manufacturer’s recommended PSI. Some slime kits include a flexible insertion tube that attaches directly to the slime container, significantly reducing mess during injection. Keep several shop towels within reach for quick cleanup of accidental spills, and wear disposable gloves since dried slime can be stubborn to remove from skin. Pro Tip: Place all tools on a clean towel to create a dedicated workspace that keeps everything organized.
Inspect Tire Condition Before Slime Application

Not all tires qualify for slime treatment—skip this step at your peril. Begin with a thorough visual examination: look for sidewall cracks, bulges, or large cuts indicating structural damage that slime cannot repair. If your tire shows these issues, replacement—not sealant—is the only safe solution.
Check puncture size carefully before proceeding. Green slime effectively seals punctures up to 1/4 inch (about the diameter of a standard nail or screw). Larger holes from road hazards typically require professional repair or tire replacement. Critical Warning: Never apply slime to tires with sidewall damage, as the structural integrity has been compromised beyond what sealant can address. Test your valve stem condition by pressing the center pin—if it leaks air or feels loose, replace it before adding slime.
Determine Exact Slime Quantity for Your Tire
Using the correct amount ensures maximum protection without causing balance issues. Consult the slime packaging sizing chart, but general guidelines include: standard passenger car tires (185/65R15 through 225/50R17) require 8-16 ounces; SUV and light truck tires need 16-24 ounces; compact spares need only 4-8 ounces; and bicycle tires require just 2-4 ounces for standard mountain bike tires.
Overfilling creates dangerous imbalances at highway speeds. When uncertain between two quantities, choose the lower recommendation—better to have slightly less coverage than risk vibration issues. Measure precisely for each tire since wheel sizes often vary even on the same vehicle. Expert Note: For vehicles driven infrequently, slightly increasing the recommended amount compensates for reduced centrifugal distribution during regular use.
Remove Valve Core for Proper Slime Injection
This simple step trips up many beginners despite its simplicity. Start by removing the valve cap and setting it aside where it won’t roll away. Insert your valve core removal tool clockwise into the valve stem until it grips the core threads. Apply steady counterclockwise pressure to unscrew and extract the core—you’ll hear air escaping, which is normal.
Handle the valve core carefully during removal. Place it on a clean surface where you won’t lose it, as you’ll need to reinstall it shortly. Work efficiently but deliberately, as air continues escaping while the core is out. If the core resists removal, apply a drop of soapy water around the stem base for lubrication—never use petroleum-based products that could degrade rubber components. Time Estimate: This step should take no more than 30 seconds with proper tools.
Inject Green Slime Through the Valve Stem Opening
With the valve core removed, you’re ready for sealant application. Attach the slime container’s insertion tube firmly to the valve stem. Squeeze steadily to inject your measured amount—this should take 1-2 minutes per tire. You may notice slight inflation from the sealant’s pressure, which is beneficial as it reduces subsequent air requirements.
Choose your injection method based on tire condition. For tires with active punctures, partially deflate first to allow slime to pool at the bottom before reinflation. For preventive maintenance on properly inflated tires, the sealant will distribute as you drive. Visual Cue: Watch for consistent flow without air bubbles, indicating proper seal between tube and valve stem. Stop when you’ve used the exact quantity calculated for your tire size.
Reinstall Valve Core and Properly Inflate Tire
Correct valve core reinstallation prevents slow leaks. Retrieve the core you set aside and use your removal tool to screw it back into the valve stem. Turn clockwise until snug—over-tightening can strip threads. A properly installed core sits flush with the stem top and creates an airtight seal.
Inflate to manufacturer specifications precisely. Find your vehicle’s recommended PSI on the driver’s door jamb sticker or owner’s manual—never rely on tire appearance. As you inflate, listen for the characteristic splashing sound indicating slime coating interior surfaces. Critical Step: After reaching target pressure, spin the tire slowly to ensure even distribution before driving.
Achieve Optimal Slime Distribution Throughout Tire
Proper distribution separates effective applications from wasted efforts. Immediately drive your vehicle 5-10 minutes at 15+ mph to let centrifugal force spread sealant evenly. For bicycles or powersport vehicles, rotate wheels by hand for 2-3 full revolutions. This initial distribution phase is crucial for comprehensive protection.
Monitor pressure changes during distribution. A slight PSI drop (2-3 pounds) often occurs as slime settles—reinflate to proper levels afterward. Pro Tip: Drive in figure-eight patterns during your distribution drive to maximize interior coverage on all tire sections, not just the tread area.
Address Wheel Balance After Slime Application

Liquid sealant can affect balance if improperly applied. Most users experience no vibration issues when following recommended quantities, but high-speed driving may reveal minor imbalances. If you notice steering wheel vibration above 50 mph, visit a tire shop for professional balancing.
Minimize balance concerns with these techniques: Always use the minimum effective slime quantity, avoid application to tires showing pre-existing wear patterns, and schedule balance checks every 6 months if you frequently drive at highway speeds. Important: Never confuse slime-related vibration with more serious mechanical issues—get unusual symptoms diagnosed promptly.
Ensure TPMS Compatibility with Green Slime
Modern vehicles require special attention with sealant applications. While green slime generally works with Tire Pressure Monitoring Systems, excess product can accumulate on sensors causing inaccurate readings. Check your dashboard indicators regularly after application to confirm proper TPMS function.
Prevent sensor interference by: Using only recommended quantities, avoiding overfilling, and having sensors cleaned during routine tire rotations. If TPMS warnings persist after application, consult a professional who can safely inspect and clean sensors without damage.
Identify When Not to Use Green Slime
Knowing limitations prevents dangerous misapplications. Never use slime on tires with sidewall damage, punctures larger than 1/4 inch, or structural failures. Tires driven extensively while flat often have internal damage requiring replacement, not sealant.
Special situations requiring alternative solutions: High-performance racing tires operating beyond sealant heat tolerances, certain low-profile tires with stiff sidewalls that restrict distribution, and tires on vehicles exceeding manufacturer speed ratings. Critical Safety Note: When in doubt about suitability, consult a professional tire technician before application.
Maintain Slime-Treated Tires for Maximum Effectiveness
Regular maintenance extends sealant performance. Check tire pressure monthly—not just for safety but to verify sealant remains active. If you experience a puncture that seals successfully, monitor the area closely for weeks to ensure the repair holds.
Adjust maintenance for storage conditions: Vehicles in long-term storage benefit from topping up sealant before return to service. Extreme temperatures affect longevity—annual checks ensure protection remains reliable. Pro Tip: Mark your calendar for slime application date to track when refreshing becomes necessary (typically every 2-5 years).
Drive with Confidence After Proper Slime Application
Mastering how to put green slime in a tire transforms roadside emergencies into minor inconveniences. The complete process takes just 15-30 minutes for all four tires, making it ideal weekend maintenance. By following each step meticulously—from proper valve core handling to thorough distribution—you’ll enjoy round-the-clock puncture protection.
Remember these key success factors: precise quantity measurement, immediate post-application driving for distribution, and regular pressure monitoring. With proper application, green slime provides reliable defense against most common punctures, giving you the confidence to drive wherever life takes you—knowing your tires have automatic protection working silently inside.


