

You’re ready for a bike ride only to discover your tire is flat. Before you can hit the road, you need to know how to properly inflate your bike tire with a Schrader valve—the same type found on car tires. Unlike Presta valves common on higher-end bikes, Schrader valves are wider and more robust, making them popular on children’s bikes, hybrids, and many mountain bikes. Getting air into your tire might seem simple, but using the wrong technique can lead to air leaks, damaged valves, or even tire blowouts. This guide will walk you through the exact process to safely and effectively pump air into your bike tire with a Schrader valve, so you can get back on the road quickly without damaging your equipment.
Identifying Your Schrader Valve System
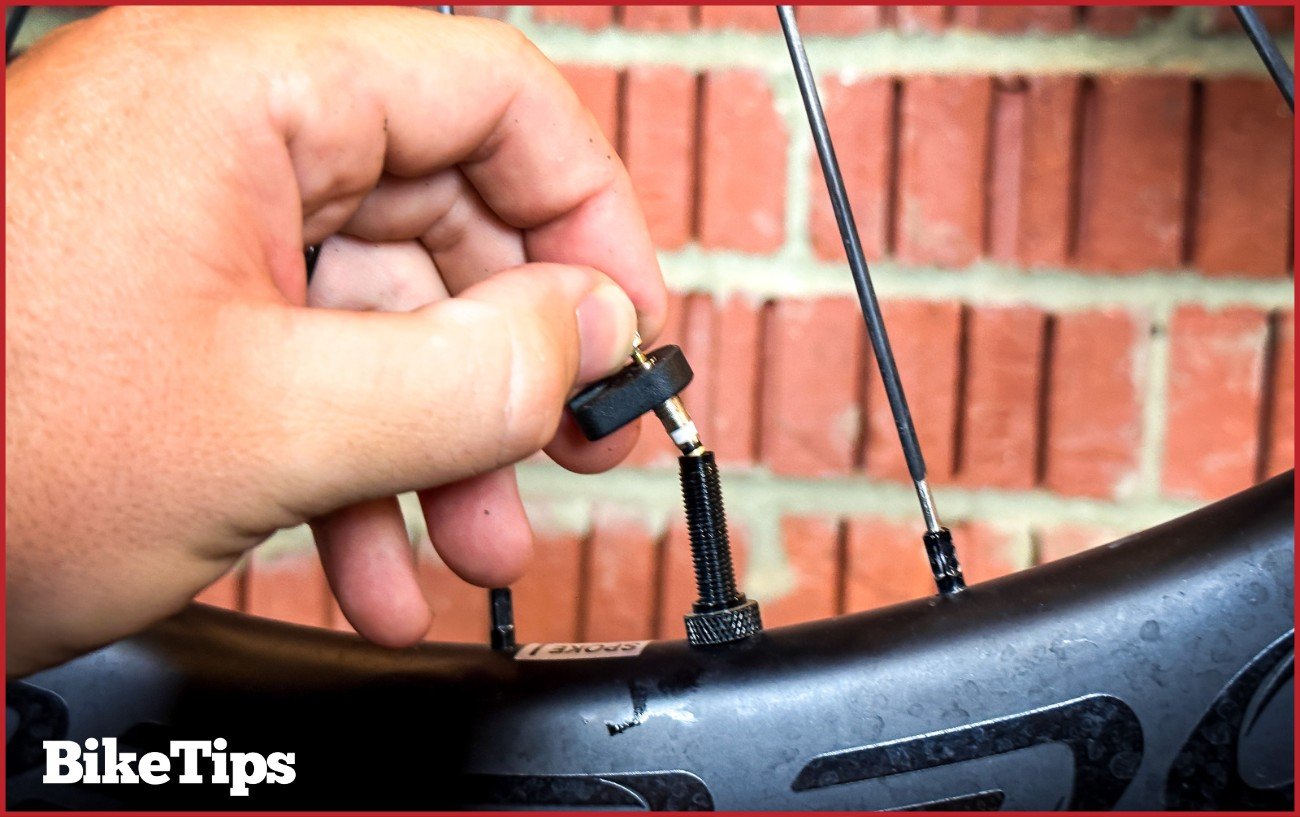
How to Spot a Schrader Valve on Your Bike Tire
Schrader valves are thicker (about 8mm in diameter) than Presta valves and feature a spring-loaded mechanism inside. They have a metal pin in the center that you press to release air. You’ll find them on most entry-level and mid-range bikes, especially those designed for casual riding. The valve stem will have threads on the outside that accept a valve cap, which serves both protective and decorative purposes. Unlike Presta valves that require you to unscrew a small nut to open, Schrader valves are always “open” when the pump head is properly attached.
Why Using the Correct Pump Matters for Schrader Valves
Using a pump designed for Schrader valves is critical because the pump head must fully engage with the valve mechanism. Many modern bike pumps are dual-purpose, accommodating both Schrader and Presta valves, but you must ensure the pump head is set correctly. Attempting to use a Presta-only pump on a Schrader valve won’t work and could damage the valve. If your pump has a lever or switch, make sure it’s positioned for Schrader valves before attempting to inflate.
Preparing Your Bike for Inflation
Removing the Valve Cap and Checking Valve Integrity
Before connecting your pump, remove the valve cap by twisting it counterclockwise. Inspect the valve stem for damage, corrosion, or debris that might prevent proper sealing. Gently press the center pin with your fingernail to ensure air releases freely—this confirms the valve isn’t stuck closed. If no air comes out when you press the pin, the valve might be clogged or damaged and will need cleaning or replacement before you can successfully inflate the tire.
Positioning Your Bike for Easy Access
Lift the bike off the ground and position it so the tire you’re inflating is easily accessible. Many riders flip their bike upside down, resting it on the seat and handlebars, but this isn’t necessary. Simply stand the bike upright and rotate the wheel so the valve is at the 3 o’clock position for easiest access. If you’re working in a tight space, make sure you have room to operate the pump handle comfortably without hitting walls or obstacles.
Connecting Your Pump to the Schrader Valve

Proper Pump Head Attachment Technique
Press the pump head firmly onto the valve stem. Most pumps require you to push down and twist slightly to lock into place. You should hear air escaping initially as the pump head engages the valve mechanism—that’s normal. If you don’t hear any air, the connection isn’t secure. Lift the pump head slightly while maintaining downward pressure to ensure it’s fully seated. Some pumps have a lever that you flip to secure the connection; make sure this lever is fully engaged before pumping.
Troubleshooting Common Pump Connection Issues
If air leaks around the connection point, try these solutions:
– Press harder while twisting the pump head onto the valve
– Clean any dirt from the valve stem with a dry cloth
– Ensure your pump is set to Schrader mode (not Presta)
– Replace worn pump head seals if they’ve become brittle
– Check that the valve core is tight (use a valve core tool)
Pumping Air Into Your Bike Tire
Reading and Achieving Proper Tire Pressure
Consult your tire sidewall for the recommended PSI range, typically printed as “Inflate to 35-65 PSI” or similar. Never exceed the maximum pressure indicated. Most hybrid and mountain bikes with Schrader valves require 30-60 PSI, while cruiser bikes might need only 20-40 PSI. Use a floor pump with a built-in gauge for accuracy—mini pumps often lack reliable gauges. Pump in slow, steady strokes, checking the pressure after every 5-10 pumps until you reach the desired level.
Recognizing When Your Tire Is Properly Inflated
As you pump, periodically squeeze the tire to feel its firmness. A properly inflated tire should feel solid but still have slight give when pressed firmly with your thumb. The tire should sit evenly on the rim without bulging. Visually inspect that the tire beads are seated correctly against the rim on both sides. Overinflated tires will feel rock-hard and may cause a harsh ride or increase the risk of punctures, while underinflated tires create more rolling resistance and risk “snake bite” pinch flats.
Disconnecting and Final Checks
Safe Pump Removal Without Air Loss
Before removing the pump head, ensure you’ve achieved your target pressure. Flip the lever (if your pump has one) to the release position or gently twist the pump head counterclockwise while maintaining slight downward pressure. You’ll hear a brief hiss of air as the connection releases—this is normal. Remove the pump head straight up without wiggling, which could damage the valve. If significant air continues to escape after pump removal, your valve core might be faulty.
Post-Inflation Inspection and Valve Cap Replacement
Press the center pin briefly to release any trapped air in the pump head, then screw the valve cap back on tightly. The cap protects the valve from dirt and moisture that could cause corrosion. Give the tire a final squeeze to confirm proper firmness, then spin the wheel to check for any bulges or uneven spots. Take a short test ride in a safe area to ensure the tire maintains pressure and feels stable.
Troubleshooting Common Inflation Problems

Why Your Tire Won’t Hold Air After Pumping
If your tire loses air quickly after inflation, check these common issues:
– Valve core is loose: Tighten with a valve core tool
– Punctured tube: Listen for hissing or submerge in water to find leaks
– Pinched tube during installation: Remove tire and inspect tube placement
– Damaged rim tape: Exposes spoke holes that can puncture tubes
– Cracked valve stem: Requires tube replacement
Dealing With a Stuck Valve Core
If the center pin doesn’t move when pressed, the valve core might be stuck. Remove the valve cap and use a valve core tool (available at bike shops) to unscrew the core slightly. Add a drop of bicycle-specific lubricant if available, then retighten. If the core is severely corroded, replace it with a new Schrader valve core, which costs just a few dollars and takes seconds to install.
Maintenance Tips to Prevent Future Inflation Issues
Regular Valve Maintenance Routine
Prevent valve problems with these simple habits:
– Clean valve stems with a dry cloth after muddy rides
– Replace valve cores annually as preventative maintenance
– Always use valve caps to keep out dirt and moisture
– Check tire pressure before every ride—tires lose air naturally
– Store your bike with tires inflated to about 80% of recommended pressure
Choosing the Right Pump for Schrader Valve Bikes
For home use, invest in a quality floor pump with:
– A reliable pressure gauge (accurate to ±2 PSI)
– A dual-head compatible with both Schrader and Presta valves
– A long hose for easier positioning
– A stable base that won’t tip during use
– A pressure release valve for fine-tuning
Final Note: Properly inflating your bike tire with a Schrader valve takes just minutes once you know the correct technique. By following these steps, you’ll extend the life of your tires, improve your ride quality, and prevent unnecessary flats. Remember to check your tire pressure weekly as part of regular bike maintenance—properly inflated tires roll easier, provide better traction, and reduce your risk of punctures. Keep your pump easily accessible in your garage or bike storage area so you’re always ready for a quick top-off before your next ride.


