You’re cruising smoothly on your electric scooter when suddenly, you hear that dreaded hiss—the unmistakable sound of air escaping from a punctured tire. Whether you depend on your scooter for daily commutes or weekend adventures, a flat tire brings your ride to a screeching halt. The good news is that most electric scooter tire repairs can be handled with basic tools and minimal expertise, saving you the cost and inconvenience of professional service. This guide delivers practical solutions for common tire issues, helping you get back on the road faster with reliable fixes that actually work.
Electric scooter tires endure constant punishment—they absorb road shock, maintain grip on various surfaces, and support your weight at high speeds. Unlike car tires, scooter tires are compact, specialized components that often prove more challenging to access and repair. Recognizing your specific tire type and damage pattern determines whether you need a quick patch, complete replacement, or professional assistance. By the end of this guide, you’ll confidently handle most electric scooter tire repair scenarios, extending your scooter’s lifespan while avoiding unnecessary service costs.
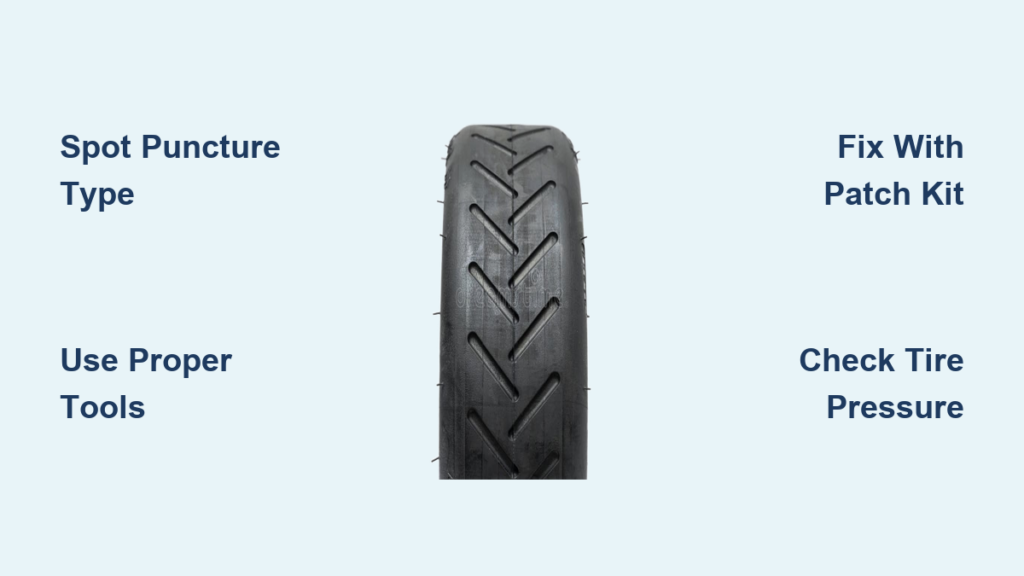
Spot the Exact Tire Damage Before Repairing

Before grabbing your tools, conduct a thorough damage assessment—this step saves wasted effort and ensures you apply the correct solution. Most scooter tire problems fall into specific categories with distinct repair requirements that determine your next move.
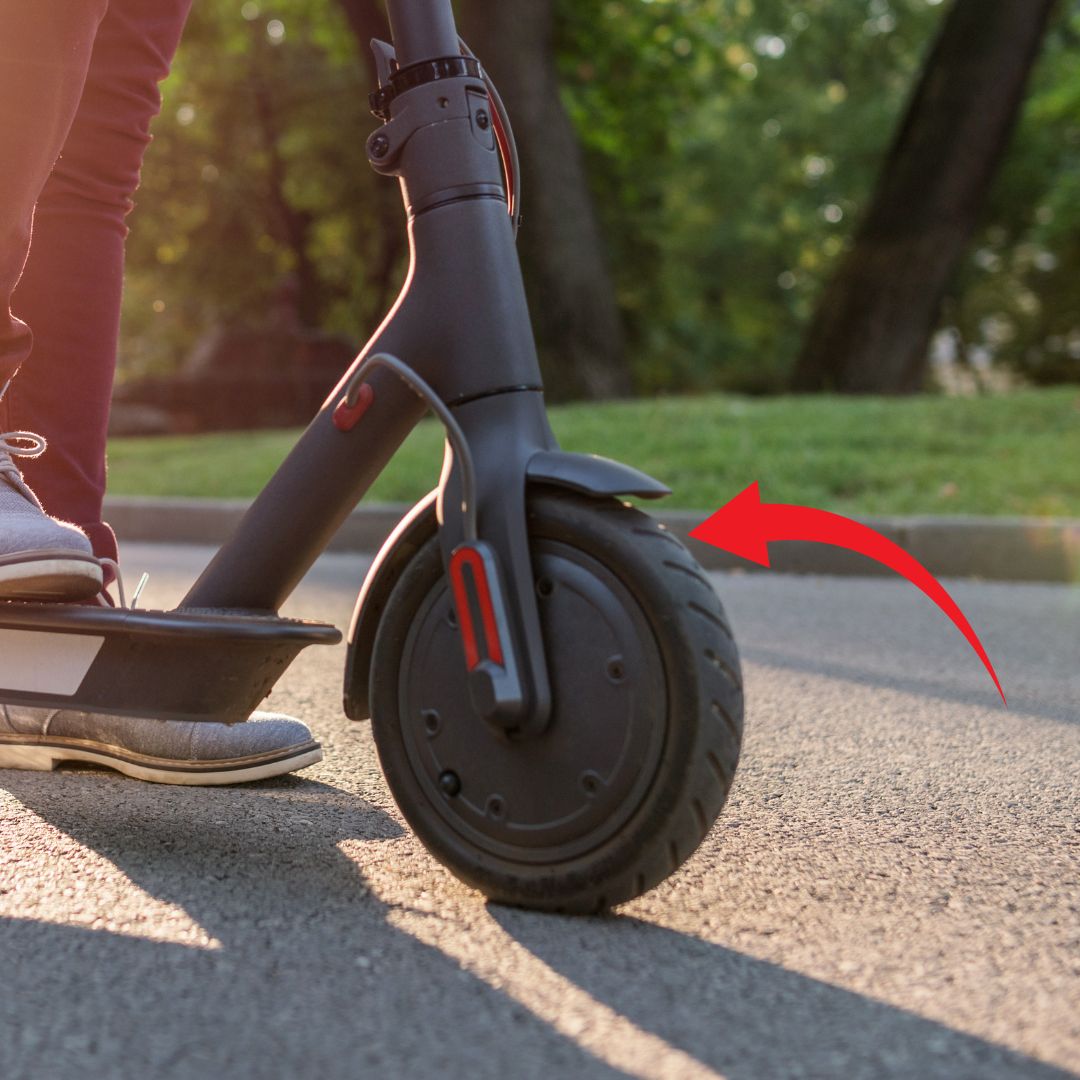
Nail punctures require immediate marking before removal—leaving the object in place temporarily prevents rapid air loss. These clean, round holes (typically 2-5mm) often appear in the tread area where the tire contacts the road. Mark the puncture site clearly with a permanent marker while the nail remains embedded, then proceed with careful tire removal. Most nail punctures in pneumatic tires respond well to plug kits, but position matters—repairs in the sidewall rarely hold long-term.
Sidewall cuts threaten structural integrity more severely than tread punctures. These slashes from glass, metal debris, or sharp objects compromise the tire’s strength and require immediate attention. Run your finger along the damaged area (carefully, as edges may be sharp) to assess depth—superficial cuts might be repairable, but any damage penetrating beyond the rubber surface means replacement is necessary. Sidewall repairs rarely hold because this area flexes constantly during riding, breaking the seal.
Valve stem leaks mimic puncture symptoms but need different solutions. Apply soapy water around the valve area while the tire has some air pressure—bubbles pinpoint the leak location. Many valve leaks simply require tightening the valve core with a small wrench, but cracked stems or damaged seals demand replacement. Always carry spare valve cores in your repair kit—they cost pennies but solve most minor air loss issues.
Bead leaks create frustrating slow deflation where the tire meets the rim. These occur from rim damage, improper installation, or bent wheel edges. Check for air escaping along the tire’s edge rather than through the tread surface. Minor bead leaks sometimes respond to tire sealant, but persistent leaks usually indicate rim damage that requires straightening or professional attention.
Gather Specialized Tools for Efficient Repairs

Having the right equipment transforms electric scooter tire repair from frustrating to straightforward. Most scooter tires require specific tools that differ from standard bicycle tire kits due to their compact size and unique mounting systems.
Essential pneumatic repair kit components include:
– Plastic tire levers (metal varieties risk rim damage)
– Vulcanizing patch kit with sanding block
– High-pressure mini pump with accurate gauge
– Tube replacement (matching your tire size exactly)
– Valve core tool and spare cores
Specialized tools for stubborn scooter tires:
– Rim hooks for securing tire bead during installation
– Tire mounting lubricant (never use oil-based products)
– Digital pressure gauge (scooter tires need precise PSI)
– Heat gun for softening stubborn tire edges
Safety equipment you shouldn’t skip:
– Cut-resistant gloves (protect against hidden glass shards)
– Safety glasses (prevent debris from entering eyes)
– Wheel chocks (secure scooter during repair)
– Fire extinguisher (patch cement is flammable)
Execute Pneumatic Tire Repairs Properly
Most successful electric scooter tire repair outcomes depend on following precise steps—rushing through the process guarantees temporary fixes that fail prematurely. The repair sequence matters as much as the materials you use.
Remove the wheel safely by first loosening axle nuts while the scooter remains grounded. Elevate the scooter securely using jack stands before fully removing the wheel—never work under a scooter supported only by makeshift blocks. For rear-wheel motor models, photograph cable connections before disconnecting anything to ensure correct reassembly later.
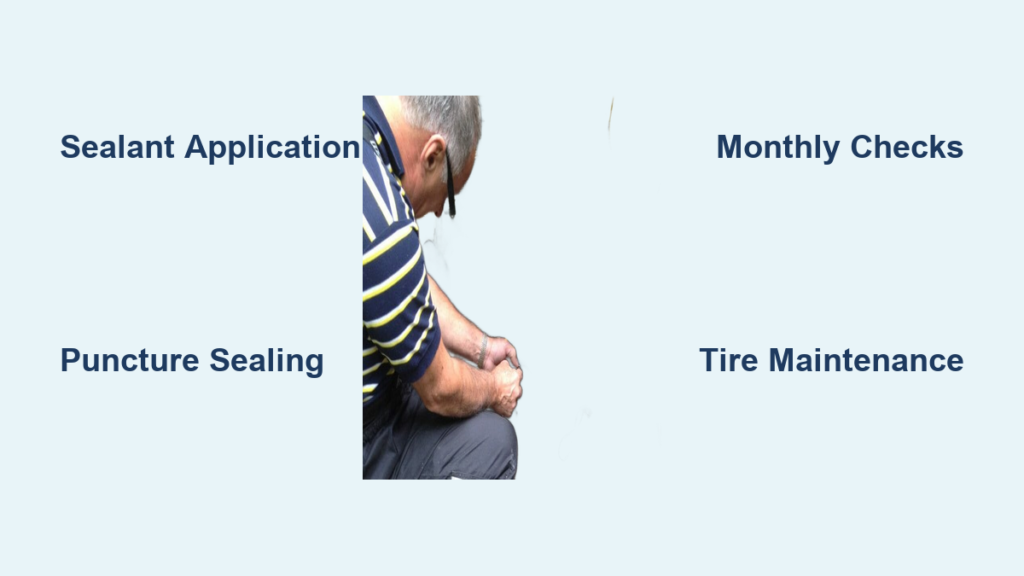
Locate the puncture by inflating the tube partially and listening for air escape. Submerge the tube in water if needed—bubbles reveal even tiny leaks. Mark the hole clearly with an X using permanent marker. Clean the area thoroughly with the provided sanding block until the rubber appears slightly fuzzy—this creates optimal adhesion for the patch.
Apply vulcanizing cement sparingly but completely over the prepared area. Wait until the cement becomes tacky (not wet, not dry) before applying the patch. Peel the backing slowly while pressing the patch firmly from center outward, eliminating all air bubbles. Use a coin edge to apply even pressure for at least two minutes—this activates the chemical bonding process.
Reinstall the tire carefully by seating one bead fully before attempting the second. Work the tire onto the rim by hand as much as possible—reserve tire levers only for the final sections. Inflate slowly to 10 PSI to check for pinched tubes before reaching full pressure. Verify final pressure matches your scooter manufacturer’s specifications (typically 40-65 PSI depending on model).
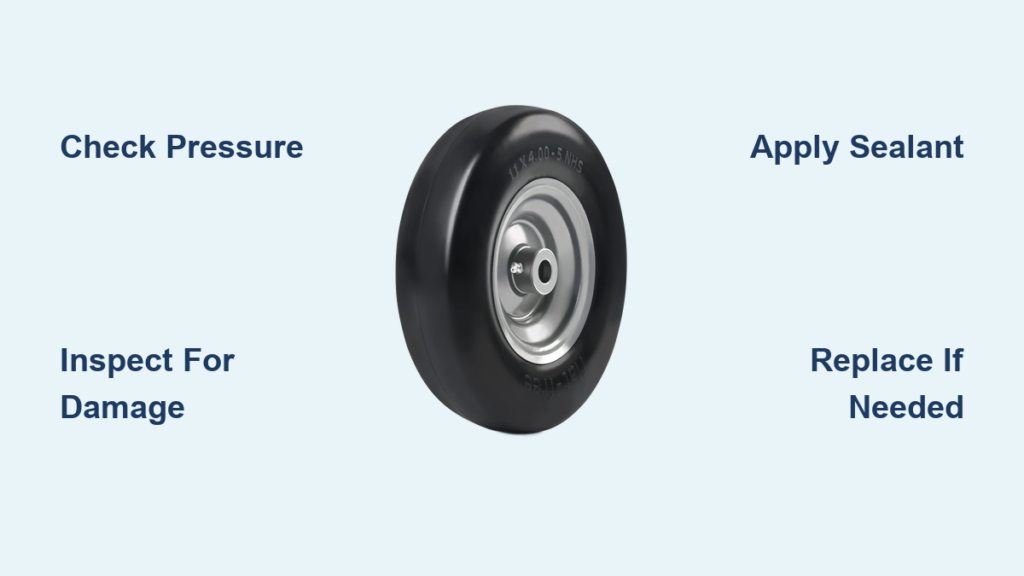
Prevent Future Flats with Proactive Maintenance
Regular tire care reduces repair frequency dramatically—most flat tires result from neglect rather than unavoidable accidents. Implement these simple maintenance habits to extend tire life significantly.
Check tire pressure weekly using an accurate gauge—pneumatic tires lose approximately 2 PSI per week naturally. Under-inflated tires are vulnerable to pinch flats when hitting curbs, while over-inflated tires reduce grip and increase puncture risk. Maintain pressure within the manufacturer’s specified range printed on the tire sidewall.
Inspect tires thoroughly before each ride by running your fingers along the tread surface (wear gloves to protect against sharp objects). Remove any embedded debris immediately—small objects work deeper into the rubber with continued riding, creating larger holes later. Pay special attention to the sidewalls where cuts compromise structural integrity.
Apply rubber protectant monthly to prevent UV damage and cracking, especially for scooters stored outdoors. Clean tires with mild soap and water first, then apply a thin coat of protectant using a soft cloth. This simple step extends tire life by 30-50% according to manufacturer testing.
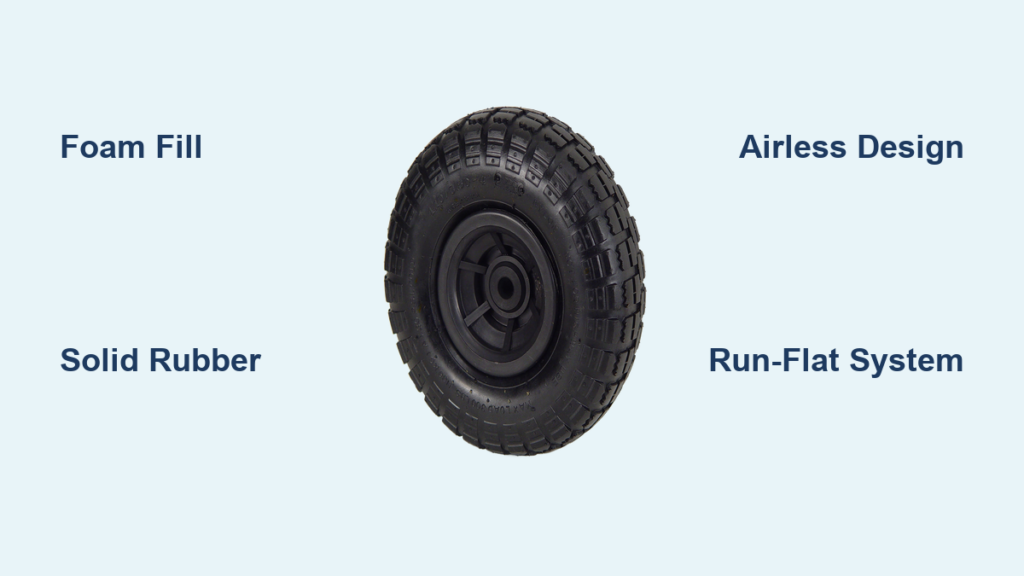
Consider preventive upgrades for high-risk riders:
– Install puncture-resistant tubes with thicker rubber
– Add tire sealant for automatic small-hole repair
– Switch to reinforced tires with kevlar belts
– Use tire liners between tube and tire
Recognize When Professional Service Is Necessary
Some electric scooter tire repair situations exceed reasonable DIY scope. Knowing when to seek professional help prevents further damage and ensures your safety on the road.
Motor-integrated wheel repairs require specialized expertise—many premium scooters feature hub motors where the tire attaches directly to the motor housing. Attempting to remove these tires risks damaging motor windings, hall sensors, or wiring harnesses. If your scooter has a motor in the wheel, consult an authorized service center rather than risking expensive damage.
Warranty considerations affect repair decisions—many manufacturers void coverage when non-OEM parts or unauthorized repairs occur. Document all maintenance carefully, and consider professional service for scooters under warranty protection. The modest cost of professional repair often preserves much more valuable warranty coverage.
Persistent flats indicate hidden problems beyond simple punctures. If you’ve repaired the same tire multiple times within weeks, inspect the rim for sharp edges, damaged rim strips, or spoke protrusions that repeatedly puncture new tubes. These issues require professional rim truing or component replacement.
Severe tire damage always warrants professional assessment—major impacts, collisions, or falls create hidden structural damage that isn’t immediately apparent. Bent frames, damaged suspension components, or compromised wheel bearings create safety hazards that manifest later during riding. When in doubt, have a professional inspect your scooter after any significant incident.
Mastering electric scooter tire repair saves time, money, and the frustration of being stranded with a flat. By accurately diagnosing damage types, using proper tools, and following correct repair procedures, you’ll handle most tire issues confidently. Implement regular maintenance habits to dramatically reduce flat frequency, and recognize when professional service provides the wisest solution. Your scooter transports you reliably—return the favor by keeping its tires in top condition, ensuring countless smooth, uninterrupted rides ahead. With these practical skills in your toolkit, unexpected flats transform from ride-ending disasters into minor inconveniences you solve in under thirty minutes.