
Nothing brings your scooter adventures to an abrupt halt like a damaged or worn-out tire. Learning how to mount a scooter tire correctly isn’t just a money-saving skill—it’s essential knowledge that keeps you mobile when you need it most. Whether you’re dealing with a puncture that can’t be repaired or simply replacing a tire that’s reached the end of its service life, proper installation ensures your scooter handles predictably and safely. This guide delivers everything you need to know to mount a scooter tire like a professional mechanic, with clear instructions that work for both tube-type and tubeless tires common on modern scooters.
A poorly mounted tire creates immediate safety hazards including sudden air loss during rides, uneven wear patterns that compromise traction, and potential bead separation at higher speeds. These issues are completely preventable when you follow the right mounting procedures. Most scooter tires can be successfully installed with basic tools in under an hour once you understand the proper technique. The key is working methodically through each stage while paying attention to critical details that make the difference between a reliable installation and one that fails prematurely.
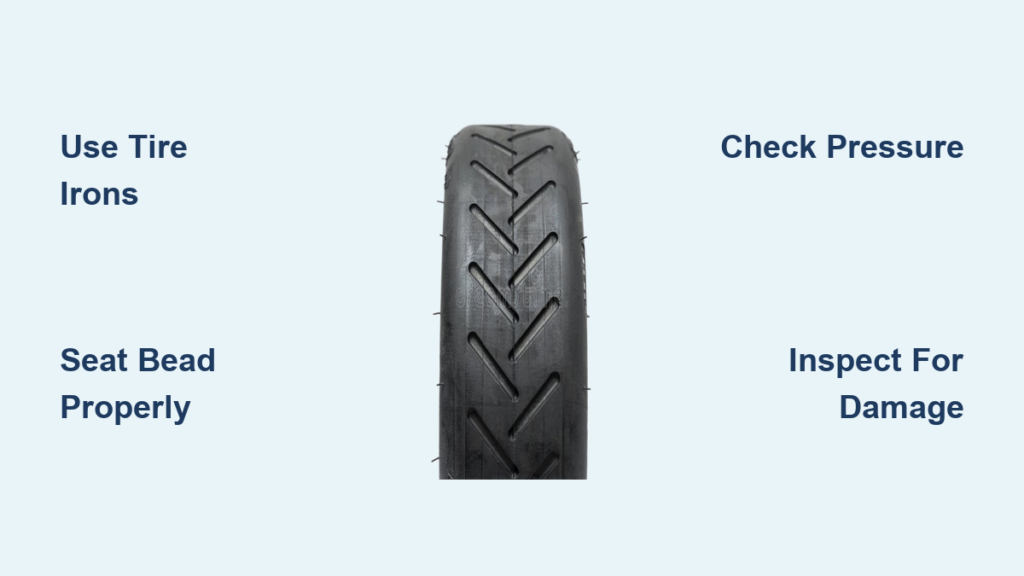
Essential Tools for Successful Scooter Tire Mounting

Skip the frustration of mid-project tool shortages by gathering everything you’ll need before starting. You’ll require three specialized tools that make the difference between a smooth installation and damaged rims or tires. First, invest in professional-grade tire irons—three 10-inch plastic-coated steel levers prevent rim scratches while providing enough strength to handle stubborn beads. Look for irons specifically designed for motorcycle applications with curved tips that hook securely under tire beads.
Your second critical tool is a manual bead breaker that creates the necessary clearance between tire bead and rim flange. For most 10-12 inch scooter wheels, a compact manual breaker with adjustable arms costs less than $25 and delivers sufficient force. Larger scooters with 14-inch or bigger wheels may require a more robust breaker. Finally, you need an accurate air pressure gauge combined with an air compressor capable of delivering quick bursts of air—essential for properly seating tire beads during inflation.
Prepare your workspace by choosing a clean, dry concrete surface where you can apply firm downward pressure without slipping. Lay down an old towel or rubber mat to protect your wheel rim from scratches during the mounting process. Work in temperatures above 60°F if possible, as cold rubber becomes stiff and difficult to manipulate. Have a small container ready for valve cores, nuts, and any hardware you remove, keeping everything organized and preventing lost parts.
Removing Your Scooter’s Old Tire Without Damage
Complete tire deflation comes first—remove the valve cap and press the valve core with a specialized tool or small flat-head screwdriver until all air escapes. For tube-type tires, unscrew the valve stem retaining nut from inside the rim after removing the core. This prevents damage to the tube during removal. Position your bead breaker opposite the valve stem and apply steady pressure to push the tire bead into the center well of the rim.
Work the bead breaker around the entire circumference, repositioning every few inches until the bead completely separates from the rim flange. Repeat this process on the opposite side of the tire. Insert your first tire iron approximately 4 inches from the valve stem, hooking the curved end under the bead while leveraging the flat end downward against the rim. Once the bead clears the rim edge, insert a second iron 3-4 inches away to hold your progress while you advance the first iron further around the tire.
Alternate between irons working in small sections until the entire bead clears the rim. For tube-type tires, carefully pull the tube through the gap you’ve created before removing the second bead using the same levering technique. Inspect the rim thoroughly for nicks, corrosion, or debris that could compromise your new tire’s seal. Pay special attention to the valve stem hole area where damage frequently occurs.
Mounting Your New Scooter Tire Properly
Position your new tire next to the wheel and verify the correct orientation—most tires feature rotation arrows or “outside” markings on the sidewall that must face outward. For tube-type applications, partially inflate the new tube to give it shape, then dust it lightly with talcum powder to prevent sticking inside the tire. Begin mounting at the valve stem location by working the first bead over the rim edge using your tire irons.
Lever the bead in small sections around the circumference while keeping the rest of the tire seated in the rim channel for leverage. With the first bead fully mounted, install the tube (if applicable) by inserting the valve through the rim hole and securing it with the retaining nut. Carefully tuck the tube inside the tire, ensuring it lies flat without twists or folds that could cause pinching during final installation.
For the second bead, start again at the valve stem position and work methodically around the wheel. This step requires more effort because you’re working against the mounted bead and the tube’s volume inside. Use both tire irons simultaneously if needed—one to hold progress while the other advances installation. Check constantly that the first bead hasn’t popped out of the rim channel during this process. For tubeless tires, apply a silicone-based tire lubricant to the bead surfaces to help them slide into position more easily.
Achieving Proper Bead Seating and Inflation
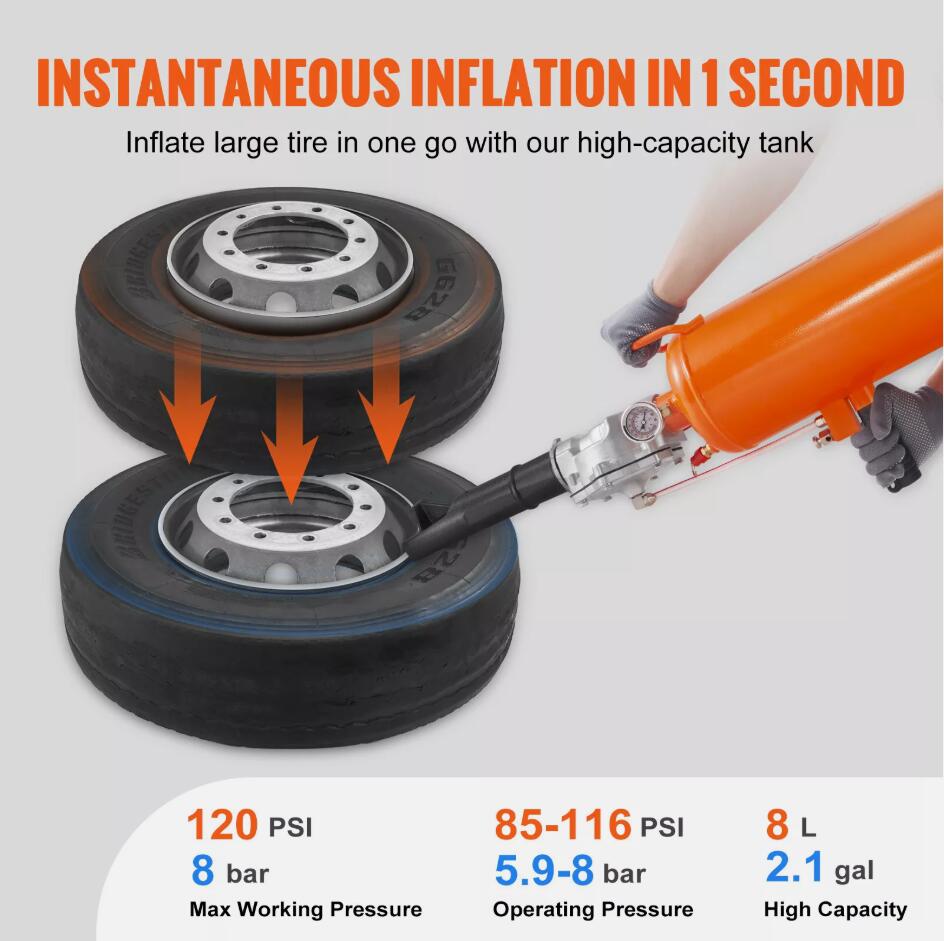
Before inflating, visually confirm both tire beads are fully seated in the rim channel all the way around. Any gap between bead and rim will cause immediate air leakage. Attach your air hose to the valve and begin inflating in short 2-3 second bursts, pausing between each to listen for the distinctive “pop” as beads seat against the rim flanges. Continue until you reach the recommended pressure—typically 28-35 PSI for most scooter tires (check your tire sidewall for exact specifications).
For stubborn beads that won’t seat properly, mix a solution of water and dish soap in a spray bottle and apply it liberally to the bead areas. The soap reduces friction and helps the rubber slide into position. If that fails, wrap a ratchet strap tightly around the tire circumference to compress the sidewalls while inflating. As a last resort, specialized bead seating tools that deliver a powerful burst of compressed air between tire and rim can solve even the most difficult seating challenges.
After reaching proper pressure, let the tire sit for 24 hours before your first ride. Recheck pressure multiple times during this period—some initial air loss is normal as the tire settles into its final position. Inspect both beads visually for any sections that haven’t seated completely, which appear as visible gaps between tire and rim.
Critical Safety Checks Before Riding
Reinstall the wheel following manufacturer torque specifications—typically 35-45 foot-pounds for most scooters. Always use a torque wrench rather than guessing, as improper torque can damage wheel bearings or cause the wheel to loosen during operation. Spin the wheel freely by hand and observe from multiple angles to confirm it runs true without wobble or hop that could indicate improper mounting.
Check valve stem alignment—it should sit perpendicular to the wheel without leaning toward the scooter body. Verify adequate clearance between tire and fender or bodywork by rotating the wheel through its full range of motion. Measure tire pressure with an accurate standalone gauge (not your compressor’s built-in gauge) to ensure it matches manufacturer specifications.
Take your first test ride at low speed in a controlled environment, gradually increasing speed while paying attention to handling characteristics. Listen for unusual vibrations or sounds that might indicate bead seating problems. A properly mounted tire delivers smooth, predictable handling with no pulling to one side or unusual steering feedback.
Maximizing Your New Tire’s Service Life
Establish a monthly tire pressure check routine using an accurate gauge, always measuring when tires are cold for consistent readings. Underinflated tires wear rapidly on the outer edges while generating dangerous heat buildup, whereas overinflated tires wear center tread prematurely and reduce grip. Most scooter tires perform best at the manufacturer’s recommended cold pressure (typically 3-5 PSI below the maximum pressure molded on the sidewall).
Inspect tires weekly for embedded objects, cuts, or sidewall damage that could lead to failure. Remove any debris you find, but have the tire professionally inspected even if it holds air—internal damage isn’t always visible. Replace tires showing significant cracking or dry rot on sidewalls, regardless of tread depth. Remember that rubber compounds degrade over time—even with proper storage, most manufacturers recommend replacing tires after six years regardless of apparent condition.
Proper storage preserves tire integrity during extended scooter inactivity. Park in a cool, dry location away from direct sunlight and ozone sources like electric motors. If storing for more than three months, inflate tires to their maximum sidewall pressure to prevent flat-spotting, then recheck and adjust to operating pressure before your first ride after storage.
Final Note: Proper tire mounting requires attention to detail at every stage—from preparation through final inspection. Following these procedures ensures your scooter maintains optimal handling, braking performance, and safety on the road. If you encounter persistent difficulties seating beads or notice unusual handling after installation, consult a professional technician—your safety is worth the investment in proper installation. Regular maintenance and proper inflation will maximize your tire’s service life, keeping you safely on the move for miles to come.


