
Your tire pressure gauge is the only tool standing between you and optimal vehicle performance, fuel economy, and safety—yet most drivers never verify whether their gauge is actually accurate. A faulty or improperly used gauge can lead to underinflated tires that wear out prematurely, overinflated tires that reduce traction, or worse, a blowout on the highway. Learning how to check your tire gauge and use it correctly takes less than ten minutes but prevents costly repairs and dangerous situations. This guide walks you through verifying your gauge’s accuracy, understanding different gauge types, and mastering the proper technique for reliable pressure readings every time.
Why Your Tire Gauge Might Be Giving False Readings
Tire pressure miscalculations cause more vehicle problems than most drivers realize. That shaky steering you feel at highway speeds? Could be overinflated tires from an inaccurate gauge. The uneven tread wear on your front tires? Likely from underinflation due to faulty pressure readings. Even small errors of 2-3 PSI can significantly impact your vehicle’s handling, fuel efficiency, and safety. Most tire pressure gauges gradually lose accuracy through normal use, exposure to temperature extremes, or minor impacts. Without regular verification, you might be making critical maintenance decisions based on incorrect information that could compromise your safety.
How to Verify Your Digital Tire Gauge Accuracy
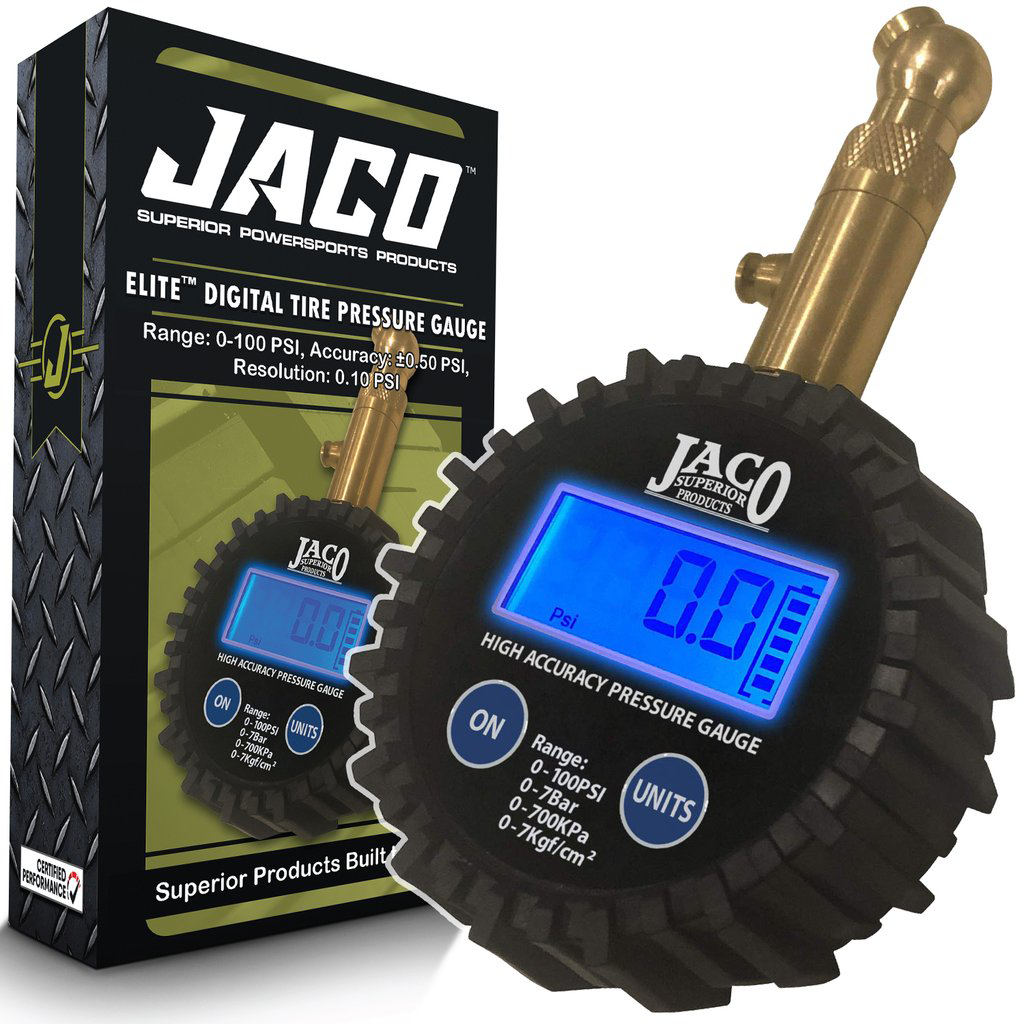
Digital gauges offer precision but require periodic accuracy checks to ensure they’re functioning properly.
Compare Against Professional Calibration Equipment
The most reliable verification method involves visiting a tire service center and asking to compare your gauge against their professional calibration equipment. Place your gauge on the same valve stem immediately after the technician uses their reference gauge—this eliminates temperature variables between readings. A difference of 1-2 PSI is acceptable for consumer use, but anything greater indicates your gauge needs replacement. For thorough verification, ask the technician to test at multiple pressure points (30, 35, and 40 PSI) since some gauges drift more at certain pressure ranges. This professional check should cost nothing and takes less than two minutes.
Perform a Home Pressure Consistency Test
Without professional equipment, conduct this simple home test: Inflate your tire to exactly 35 PSI using a known reliable gauge (borrow one if necessary). Wait 24 hours for temperature stabilization, then take five consecutive readings with your digital gauge, waiting 30 seconds between each measurement. If readings vary by more than 1 PSI, your gauge’s sensor has likely degraded. Consistent but incorrect readings (e.g., always showing 33 PSI when actual pressure is 35 PSI) indicate a calibration issue requiring replacement. Digital gauges with inconsistent readings often have failing internal components that cannot be repaired economically.
How to Check Analog Dial Gauge Precision
Analog gauges remain popular for their durability but require specific techniques to verify accuracy.
Eliminate Parallax Error in Dial Readings
Parallax error—viewing the needle from an angle—causes significant inaccuracies in analog gauges. Position your eye level with the needle tip when taking readings, not from above or below the dial face. To test for parallax issues, take a reading while viewing straight on, then repeat while tilting your head 30 degrees upward. If readings differ by more than 1 PSI, your gauge may have a loose needle or poor dial construction. Quality analog gauges maintain accuracy within ±1 PSI across their entire range, while cheaper models can deviate up to 5 PSI, making regular verification essential.
Check for Mechanical Binding in Analog Mechanisms
Mechanical binding occurs when the internal mechanism sticks, causing inaccurate readings. Test for this by rapidly inflating a tire from 25 to 40 PSI while taking continuous readings. A smooth needle movement indicates proper function, while jerky or hesitant movement suggests internal wear. Tap the gauge face lightly with your finger during measurement—if the needle jumps significantly, internal components have worn and accuracy is compromised. Professional mechanics replace analog gauges showing any mechanical binding, as the problem only worsens with use.
Pencil-Style Gauge Reliability Testing

Despite their low cost, pencil-style gauges can provide serviceable readings if properly verified.
Conduct the Vertical Drop Test for Slide Mechanisms
Pencil gauges often fail due to sticky slide mechanisms. Test yours by pressing it firmly against a valve stem to get a reading, then immediately removing it and observing the slide rod. The rod should retract smoothly and completely within one second—any hesitation or partial retraction indicates internal friction affecting accuracy. For a more rigorous test, hold the gauge vertically and drop the slide rod from its extended position; it should fall freely without catching. Gauges failing this test consistently read 3-5 PSI lower than actual pressure, creating dangerous underinflation scenarios.
Compare Readings Across Multiple Pressure Points
Pencil gauges frequently show inconsistent accuracy at different pressure levels. Inflate a tire to 30 PSI using a verified accurate gauge, record your pencil gauge reading, then deflate to 25 PSI and repeat. If the error percentage changes significantly between pressure points (e.g., +2 PSI at 30 PSI but -3 PSI at 25 PSI), the gauge’s spring mechanism has degraded. Professional tire technicians consider pencil gauges unreliable for precision work, but they can serve as emergency backups if you understand their specific error patterns through this testing method.
Proper Tire Pressure Measurement Technique
Even the most accurate gauge fails when used incorrectly—master these essential techniques.
When to Check Tire Pressure for True Readings
Always measure “cold” tire pressure—at least three hours after driving or first thing in the morning. Tires driven even short distances heat up, increasing pressure by 4-6 PSI above cold levels. Checking pressure when tires are warm leads to dangerous underinflation when tires cool. If you must check pressure immediately after driving, note the approximate temperature increase (about 1 PSI per 10°F temperature rise) and adjust your target pressure accordingly. Never bleed air from warm tires to reach the recommended cold pressure, as this creates dangerous underinflation once the tires cool.
How to Achieve Perfect Valve Stem Connection
Most inaccurate readings stem from poor gauge-to-valve connection. Press your gauge straight onto the valve stem with firm, consistent pressure—not at an angle. Listen for escaping air; any hissing indicates a leak that produces low readings. For pencil gauges, maintain pressure until the slide rod stops moving, typically 2-3 seconds. Digital gauges often require just a half-second connection. Remove the gauge slowly to avoid damaging the valve core, which would cause immediate air loss. Check valve caps for proper sealing and replace cracked or damaged caps immediately, as they prevent 90% of valve stem leaks.
How Often to Verify Your Gauge Accuracy
Prevent gauge drift from compromising your safety with these verification schedules.
Seasonal Gauge Calibration Routine
Verify your primary tire gauge every spring and fall when temperature changes significantly affect tire pressure. Temperature swings of 10°F change tire pressure by approximately 1 PSI, making accurate measurement critical during seasonal transitions. Before embarking on long road trips exceeding 200 miles, perform a quick accuracy check using any available reference gauge. Monthly verification is essential for fleet vehicles, rental cars, or any vehicle driven extensively for work purposes. Remember that gauges stored in extreme temperatures (like glove compartments in summer) require more frequent verification due to thermal stress on internal components.
Replacement Indicators for Worn Gauges
Replace your tire gauge immediately if it shows visible damage, has been dropped on hard surfaces, or gives inconsistent readings between identical measurements. Digital gauges with dim displays or intermittent readings indicate failing electronics that compromise accuracy. Analog gauges with sticky needles or inconsistent parallax errors should be retired. Pencil gauges that don’t retract fully or show different errors at various pressure points are unreliable. Consider replacing all gauges every 2-3 years regardless of apparent condition, as internal components degrade even with careful use. Your safety depends on accurate tire pressure readings—don’t gamble with questionable equipment.
Properly inflated tires provide better handling, longer tread life, improved fuel economy, and most importantly, enhanced safety. By regularly verifying your tire gauge’s accuracy and using proper measurement techniques, you ensure every reading reflects reality rather than equipment error. That five-minute verification process prevents hundreds of dollars in premature tire wear, improves your gas mileage by up to 3%, and most critically, reduces your risk of dangerous tire failures on the road. Take the time today to check your tire gauge—you’ll drive with greater confidence knowing your pressure readings are truly accurate. Your tires, wallet, and most importantly, your safety depend on it.


