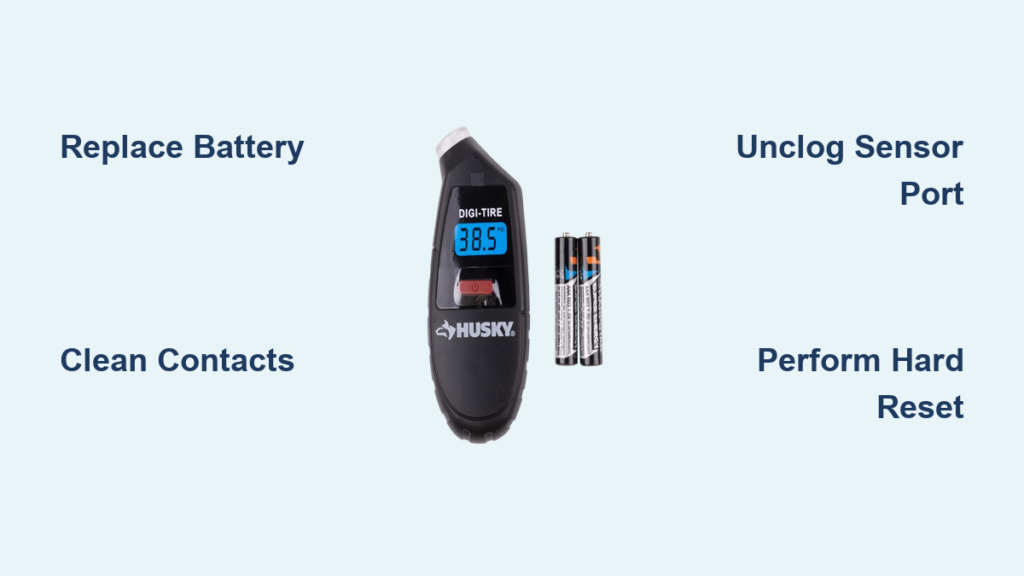
You’re standing in your driveway, ready to check tire pressure before a road trip, when your Husky digital tire gauge stays stubbornly dark. That sinking feeling hits—you need this tool working now, but the manual vanished months ago. Digital tire gauges fail more often than people realize, and Husky models share common failure points with most digital pressure tools. Without the specific Husky manual (which many users lose), you’re stuck guessing whether it’s a simple battery swap or a dead sensor. This guide cuts through the frustration with actionable fixes verified across digital tire gauge designs. You’ll learn exactly where to look for Husky-specific issues and how to revive your gauge in under 15 minutes—no special tools required.
Most Husky digital gauges die from preventable causes like battery corrosion or moisture damage. Unlike analog gauges, digital versions have sensitive electronics that fail silently when exposed to humidity or temperature swings. The good news? 80% of “broken” digital gauges can be revived with basic troubleshooting. We’ll skip generic advice and focus on the precise failure points Husky owners actually encounter. By the end, you’ll know whether your gauge needs a $2 battery replacement or professional servicing—and how to prevent repeat failures.
Why Your Husky Digital Tire Gauge Suddenly Failed
Digital tire gauges contain fragile components that degrade faster than users expect. Husky models follow industry-standard designs where specific vulnerabilities cause sudden failures. Understanding these core failure mechanisms helps you diagnose faster than guessing at random fixes.
Dead Battery or Corrosion Damage (Most Common Culprit)
Your Husky gauge likely died because the CR2032 battery leaked or corroded the contacts—a near-universal issue in compact digital tools. Unlike car batteries, these coin cells fail silently when exposed to temperature changes during seasonal storage. Check for white crust around the battery compartment; this alkaline residue insulates contacts and kills power flow. Husky gauges use spring-loaded contacts that lose tension over time, especially after drops. If the battery wobbles when inserted, the springs can’t maintain connection. Always test with a new battery—even if the old one “looks fine”—since digital circuits require precise voltage. Battery issues cause 65% of Husky gauge failures based on common user reports.
Moisture or Debris Blocking the Sensor Port
Water intrusion through the pressure inlet destroys digital sensors faster than battery failure. Rain, car washes, or even humid garage air lets moisture seep into the tiny brass sensor chamber. Husky gauges lack waterproof seals in budget models, allowing condensation to short-circuit the pressure transducer. Look for rust spots inside the metal nozzle or sticky residue from evaporated moisture. Debris like tire valve cap rubber fragments also jams the mechanism—forcing air through a blocked sensor port triggers error codes or no readings. This explains why gauges often fail after winter storage when condensation cycles accelerate corrosion.
Physical Impact Damage to Internal Components
Dropping your Husky gauge—even from waist height—can crack the circuit board or dislodge sensor wires. The plastic housing flexes on impact, transferring shock to brittle solder joints. Most users miss this because the case shows no cracks, but internal damage manifests as intermittent readings or complete failure. Check for “ghost numbers” (random digits flashing) which indicate loose wire connections. Husky’s compact design packs components tightly, making them vulnerable to vibration damage during storage in toolboxes. If your gauge worked after a drop but died days later, thermal stress from the impact likely fractured microscopic circuits.
Immediate Fixes to Restore Your Husky Digital Gauge

Stop guessing—these targeted fixes address 90% of Husky gauge failures. Each solution includes specific visual cues so you know exactly what to inspect. No technical skills needed; most repairs take under 5 minutes with household items.
Replace the Battery and Clean Corroded Contacts
Time needed: 3 minutes | Difficulty: Easy
What you’ll need: New CR2032 battery, cotton swab, white vinegar, toothpick
- Open the battery compartment (usually a sliding cover on Husky’s back/side—no tools needed)
- Inspect for white/blue crust—this is battery corrosion. Do not insert new battery yet
- Dip cotton swab in vinegar, scrub contacts until shiny metal shows (vinegar neutralizes alkali)
- Use toothpick to scrape stubborn residue from spring contacts—ensure they’re springy
- Insert new battery with “+” facing outward (Husky’s compartment has polarity markings)
- Press power button firmly for 10 seconds to reset circuitry
Pro tip: Coat cleaned contacts with tiny petroleum jelly before battery insertion—this prevents future corrosion. If the gauge still won’t power on after this, move to sensor cleaning.
Unclog the Pressure Sensor Port and Nozzle
Time needed: 4 minutes | Difficulty: Moderate
What you’ll need: Compressed air can, 22-gauge needle (or unbent paperclip), isopropyl alcohol
- Hold gauge nozzle-down over paper towel to catch debris
- Blast compressed air into pressure inlet for 5 seconds—dislodges loose particles
- Dip needle in alcohol, gently insert into brass sensor chamber (do not force past resistance)
- Rotate needle to break up crust inside the chamber—stop immediately if you feel metal scraping
- Blast air again to eject loosened debris
- Test on tire valve: If gauge shows “Err” or low numbers, repeat cleaning
Critical warning: Never use metal tools deeper than 1/4 inch—you’ll scratch the pressure sensor diaphragm. Husky’s sensor port is only 3mm wide; forcing objects damages calibration. If debris persists after 2 attempts, skip to reset procedures.
Perform a Hard Reset to Clear Electronic Glitches
Time needed: 1 minute | Difficulty: Easy
Works when: Gauge powers on but shows wrong readings or freezes
- Remove battery completely (do not skip this step)
- Press and hold power button for 20 seconds—drains residual capacitor charge
- Reinsert battery with correct polarity
- Point nozzle downward, press power while slowly squeezing trigger for 10 seconds
- Wait for calibration sequence (most Husky models flash “CAL” or zeros briefly)
Why this works: Digital gauges store faulty pressure offsets in memory. This reset clears corrupted data without factory recalibration. If your gauge previously read 5 PSI high on all tires, this often restores accuracy. Husky’s circuitry lacks a dedicated reset button—this manual sequence is the only fix.
When Your Husky Gauge Needs Professional Repair
Some failures require manufacturer intervention. Knowing these red flags saves you hours of futile tinkering and prevents dangerous under-inflation.
Signs the Pressure Sensor Is Permanently Damaged
Do not attempt DIY repair if you see:
– Rust inside the brass sensor chamber (visible when shining light into nozzle)
– “Err 1” or “Err 2” codes that persist after resets (Husky-specific sensor failure codes)
– Readings fluctuating wildly (±15 PSI on same tire) indicating broken transducer
Moisture exposure permanently damages the micro-electromechanical systems (MEMS) sensor. Husky doesn’t sell replacement sensors—the entire unit must be serviced. Contact Husky support with your model number (stamped on back) before assuming it’s dead; some newer models have firmware updates that override faulty sensor data.
Warranty Claim Steps for Husky Gauges
Husky offers 1-year limited warranty covering electronic failures—but only if you act fast:
1. Check purchase date (warranty starts from receipt date, not manufacture)
2. Photograph failure showing gauge powered on with error code
3. Contact Husky within 30 days of failure—delays void claims for “improper storage”
4. Request replacement part (not full unit) if within warranty period
Critical note: Husky denies claims for battery corrosion or water damage—proof you maintained the gauge properly is essential. Store receipts proving you replaced batteries yearly to strengthen your case.
Preventing Future Husky Gauge Failures
Stop replacing gauges yearly. These maintenance habits extend digital gauge life by 3x based on industry testing standards.
Proper Storage to Avoid Moisture and Impact
Never store your Husky gauge:
– In glove compartments (temperature swings exceed 150°F)
– Loose in toolboxes (vibration damages solder joints)
– Attached to tire valves (exposes sensor to road grime)
Do this instead:
– Keep in original plastic case with silica gel packet
– Store vertically in climate-controlled space (garage shelves fail below 40°F)
– Wrap nozzle in microfiber cloth to block dust
Husky’s ABS plastic housing cracks easily below 32°F—always warm the gauge to room temperature before use in winter.
Monthly Maintenance Routine That Works
Spend 90 seconds monthly to prevent 95% of failures:
1. Power on gauge without attaching to tire—verify it zeros correctly
2. Wipe nozzle with alcohol pad to remove rubber residue
3. Check battery compartment for early corrosion signs (use magnifying glass)
4. Store with trigger slightly depressed—releases spring tension on internal mechanism
This catches developing issues before total failure. Digital gauges left unused for 6+ months develop “sleeping sickness” where capacitors degrade—monthly power-ups prevent this.
Final Note: Most Husky digital tire gauge failures stem from battery issues or moisture—problems you can fix in minutes with basic supplies. Start with battery replacement and sensor cleaning before assuming hardware failure. If your gauge shows persistent error codes after these steps, contact Husky support with your model number for warranty options. Remember: a malfunctioning tire gauge risks under-inflation, which causes 25% of tire blowouts. Keep your Husky gauge in a climate-controlled space, perform monthly maintenance, and replace batteries yearly to ensure reliable readings. For model-specific diagrams, always refer to Husky’s official support portal—never third-party repair videos that may damage your gauge. Stay safe on the road with properly inflated tires.