
Struggling with a flat or damaged tire on your riding lawn mower can bring your yard work to a complete halt. Knowing how to dismount a lawn mower tire properly means you can fix the problem yourself without expensive service calls or unnecessary downtime. The process requires specific techniques since lawn mower tires have different construction than automotive tires and often bond tightly to rims over time. With the right approach, you can remove even stubborn tires safely while protecting your equipment from damage.
This hands-on guide delivers exactly what you need to know to remove your lawn mower tire successfully. You’ll discover professional techniques for loosening stuck components, proper lifting procedures that keep you safe, and specific methods for prying tires without damaging rims. We’ll also cover critical inspection points you should check once the tire is off to prevent future problems. Whether you’re replacing a tire or accessing brake components, this guide gives you the confidence to complete the job correctly.
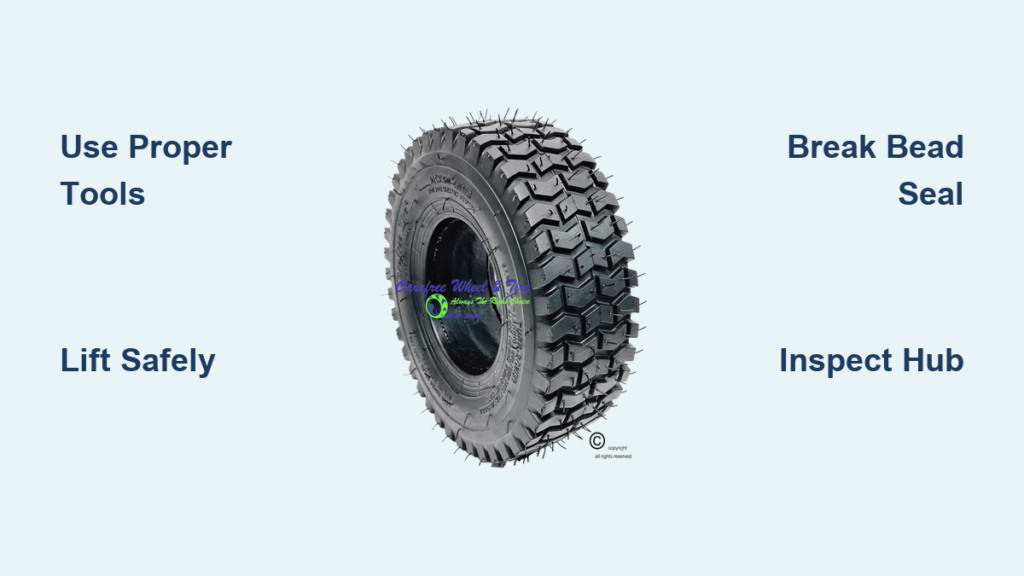
Gather Essential Repair Tools
Having the right tools organized before starting prevents frustration and ensures a smooth workflow. For successful lawn mower tire removal, you’ll need a sturdy floor jack rated for your mower’s weight, two jack stands for secure support, and a socket wrench set with the correct size for your lug nuts. Tire irons specifically designed for lawn equipment work best—standard automotive tire levers often prove too large or inflexible for smaller mower rims.
Don’t overlook personal protective equipment: heavy-duty work gloves protect against sharp rim edges and grease, while safety glasses shield your eyes from debris that may dislodge during removal. Keep penetrating oil like PB Blaster nearby to tackle rusted components, and have a wire brush ready to clean mounting surfaces. A clean rag or small container helps keep track of removed lug nuts, preventing loss or damage.
Organize your tools within easy reach before starting. Lay out a tarp or cardboard under your work area to catch grease and provide a clean spot for removed parts. This preparation saves time and reduces the risk of injury from searching for tools mid-task when your mower is partially disassembled.
Prepare Your Mower for Tire Work
Begin by parking your riding mower on solid, level concrete—not gravel or grass—to ensure stable lifting conditions. Turn off the engine completely, remove the ignition key, and engage the parking brake firmly. Place wheel chocks against both sides of the tires that will remain on the ground, creating an immovable barrier against rolling.
Allow at least 30 minutes for hot engine components to cool before working near them. Check tire pressure on the wheel you’ll remove; a slightly deflated tire often separates more easily from the rim. Take photos of the wheel assembly from multiple angles to reference during reinstallation, especially noting the position of any washers or spacers that might fall out when the wheel comes loose.
Inspect the lug nuts for rust or corrosion that might require special attention. If nuts appear seized, apply penetrating oil liberally and let it soak for 15-20 minutes before attempting removal. This preparation prevents stripped nuts and reduces frustration during the actual dismounting process.
Lift the Mower Properly
Position your floor jack under the manufacturer’s recommended lift point—typically the rear axle or a reinforced frame section near the wheel you’re removing. Consult your owner’s manual if unsure, as improper jacking can damage the mower frame. Pump the jack slowly while watching for stability, raising the mower just enough for the tire to clear the ground by 2-3 inches.
Immediately place a jack stand under the same lift point before lowering the mower onto it. Never rely solely on a hydraulic jack for support—these can fail unexpectedly due to seal leaks or accidental pressure release. Lower the mower carefully onto the stand, ensuring it sits squarely on the stand’s saddle without tilting.
Test stability by gently rocking the mower before proceeding. If you detect movement, readjust the jack stand position. Double-check that the stand’s safety pin is fully engaged and that the stand sits on solid, level ground without wobbling. This critical safety step protects you from serious injury should the jack fail during tire removal.
Remove Wheel Lug Nuts
Break loose the lug nuts while the tire still contacts the ground to prevent wheel rotation. Apply steady, firm pressure in a counterclockwise direction using a socket wrench that fits snugly—slipping tools can round off nut corners. Work in a star pattern when loosening multiple nuts to prevent binding and uneven pressure on the wheel.
For stubborn nuts, apply penetrating oil and tap the nut’s edges with a hammer to break rust bonds. Allow 10-15 minutes for the oil to penetrate before trying again. If nuts remain stuck, apply gentle heat with a hair dryer (never an open flame) to expand the metal and break corrosion seals.
Completely remove all lug nuts and place them in a container where they won’t roll away. Count and inspect each nut for damage—replace any with stripped threads or severe corrosion rather than reusing them. Keep nuts organized by position if your mower uses different sized hardware on various wheels.
Pry Off the Tire Carefully
Insert your tire iron between the tire bead and rim edge at the valve stem location, applying steady upward pressure to break the initial seal. Work around the tire in 2-3 inch increments, moving your lever progressively around the circumference rather than forcing one section. Listen for the distinctive “pop” that indicates the bead is releasing from the rim.
If resistance increases, stop and check for debris trapped between the bead and rim. Clean the area with a wire brush and apply soapy water as a lubricant—never use petroleum-based products that degrade rubber. For extremely stubborn tires, tap the sidewall with a rubber mallet to break the bead seal without damaging the rim.
Flip the wheel once the first bead releases and repeat the process on the opposite side. With both beads free, the tire should slide straight off the hub. If it sticks, check for rust buildup on the hub that may require additional cleaning before complete removal.
Inspect Wheel and Hub Components

Examine the wheel hub for cracks, excessive rust, or burrs that could damage a new tire during installation. Run your fingers along the mounting surface to detect imperfections that aren’t visible to the eye. Check the axle spline for wear that could cause wheel wobble or improper seating.
Rotate the brake drum (if applicable) to verify smooth movement without grinding or binding. Inspect wheel bearings for play by attempting to wiggle the hub—if movement exceeds 1/16 inch, bearings likely need replacement. Clean all mounting surfaces thoroughly with a wire brush to remove rust and old sealant that could prevent proper seating.
Apply a thin coat of anti-seize compound to the hub surface (avoiding bolt threads) to prevent future corrosion bonding. This simple step makes future tire removal significantly easier and prevents the tire from fusing to the rim over time.
Reinstall the Tire Correctly
Align the tire with the wheel hub, ensuring the valve stem points outward and any directional tread patterns face the correct way. Begin seating the first bead by hand, pressing down on the tire center while working the bead over the rim edge with your thumbs. Use tire irons only if necessary, starting at the valve stem and working in both directions.
For the second bead, partially inflate the tire to about 10 PSI to help seat the bead, then deflate before final installation. Hand-tighten all lug nuts in a star pattern before lowering the mower, ensuring even pressure distribution. Torque nuts to manufacturer specifications (typically 50-75 ft-lbs) in three stages: first to 30%, then 60%, and finally full torque.
After lowering the mower, recheck torque settings once the wheel bears full weight. This ensures proper clamping force and prevents wheel wobble or loose hardware during operation.
Follow Critical Safety Guidelines
Always maintain three points of contact when moving around an elevated mower and never position your body under a suspended vehicle. Keep your workspace well-lit and free of tripping hazards like tools or extension cords. Work in daylight or with adequate artificial lighting to clearly see what you’re doing at all times.
Never use damaged or inappropriate tools—substituting pipe wrenches for proper socket sets often leads to stripped hardware. Keep bystanders, especially children and pets, well away from your work area during the procedure. If you encounter unexpected resistance or complications, stop and consult your owner’s manual before proceeding.
Store removed tires upright in a cool, dry place away from direct sunlight to prevent premature aging of the rubber. Dispose of old tires through proper recycling channels—many municipalities offer collection programs for lawn and garden tires.
Troubleshoot Common Tire Problems
Address wheel stud damage immediately by replacing stretched or stripped studs before reinstalling the tire. Seized studs often require cutting with a hacksaw followed by removal with a stud extractor tool. When replacing multiple studs, do them one at a time to maintain wheel alignment.
Resolve excessive wheel bearing play by repacking with fresh grease and adjusting according to your manual’s specifications. Persistent air leaks after reinstallation typically indicate improper bead seating or damage to the rim’s sealing surface that requires professional attention.
Prevent future removal difficulties by maintaining proper tire pressure (check monthly) and applying anti-seize compound during installation. Inspect tires regularly for cracks, cuts, or bulges that indicate structural damage needing replacement. Address minor issues promptly before they develop into major problems that compromise safety and performance.


