You’re driving your Toyota when suddenly you hear that dreaded thumping sound – a flat tire. Whether you’re on the highway or in your neighborhood, a punctured tire can disrupt your day and leave you stranded. For Toyota owners, knowing how to properly address tire damage is crucial since improper repairs can compromise your vehicle’s safety systems like traction control and stability management. This guide provides actionable steps for safely repairing common tire punctures on your Toyota, helping you get back on the road with confidence. You’ll learn which damages are repairable, the correct tools needed, and critical safety checks to perform before continuing your journey.
Immediate Actions When You Discover a Flat Toyota Tire
Pulling over safely is your first priority when you notice tire damage. Find a level, stable surface away from traffic – uneven ground can destabilize your vehicle during the repair process. Before exiting your Toyota, activate your hazard lights and engage the parking brake to prevent unexpected movement. Never attempt repairs while your vehicle is unstable or in a dangerous location.
Assessing Tire Damage Severity
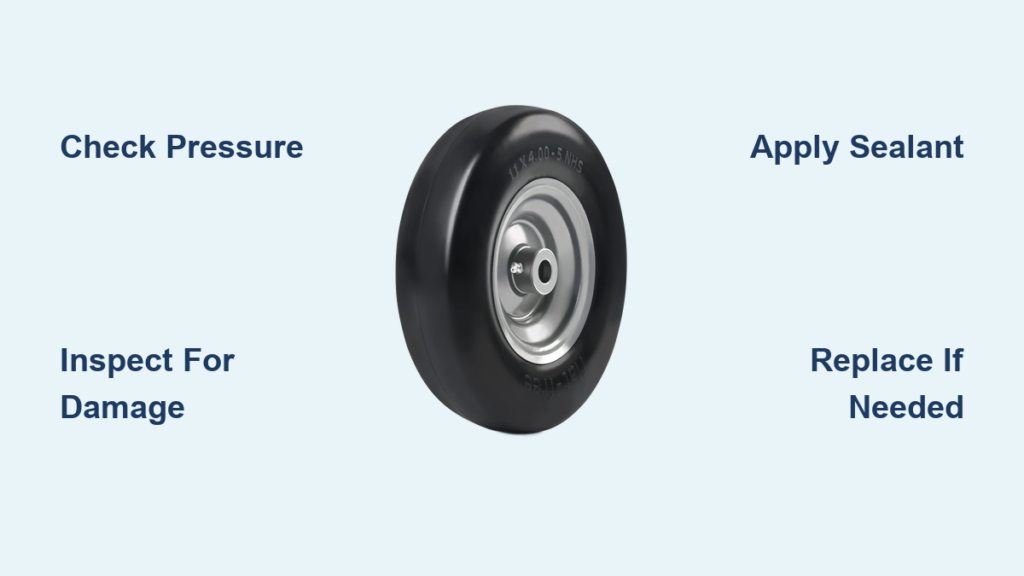
Determining if your Toyota tire can be safely repaired starts with a thorough visual inspection. Look for these critical indicators:
– Puncture location: Damage within the tread area (not sidewall) is potentially repairable
– Puncture size: Holes smaller than ¼ inch (6mm) typically qualify for repair
– Tire age: Tires older than 6 years may not be safe to repair regardless of damage
Critical warning: If you see bulging sidewalls, exposed cords, or damage near the shoulder of the tire, do NOT attempt repair – replace the tire immediately. These conditions compromise structural integrity and can lead to dangerous blowouts.
Gathering Essential Repair Tools
Before starting any tire repair on your Toyota, ensure you have these items:
– Tire pressure gauge (digital preferred for accuracy)
– Tire repair kit with plug insertion tool
– Rubber cement or sealant
– Air compressor or access to air supply
– Flashlight for better visibility
– Work gloves and safety glasses
Pro tip: Keep a compact tire repair kit in your Toyota’s trunk at all times. Many newer Toyota models include space-saver spare tires, but these have strict speed and distance limitations – a proper repair is often preferable when possible.
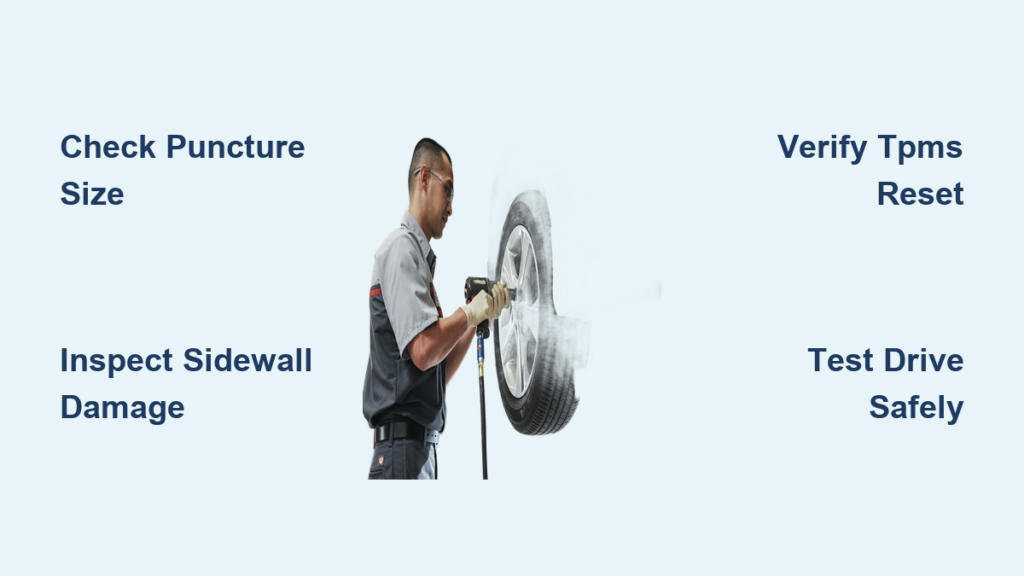
Proper Toyota Tire Repair Procedure

Following manufacturer-recommended procedures ensures your repaired tire maintains optimal performance with your Toyota’s safety systems. Improper repairs can trigger warning lights for stability control systems since uneven tire circumference affects wheel speed sensors.
Locating and Preparing the Puncture Site
Finding the exact puncture point requires methodical examination. Spray soapy water around the tire tread area – bubbles will form at the leak location. Once identified, remove any foreign objects still embedded in the tire. Use a tire probe to examine the puncture depth and ensure it meets repair criteria.
Common mistake to avoid: Never remove a nail or screw while the tire still has pressure – this can cause rapid deflation. If the object is deeply embedded, leave it in place until you’re ready to insert the plug.
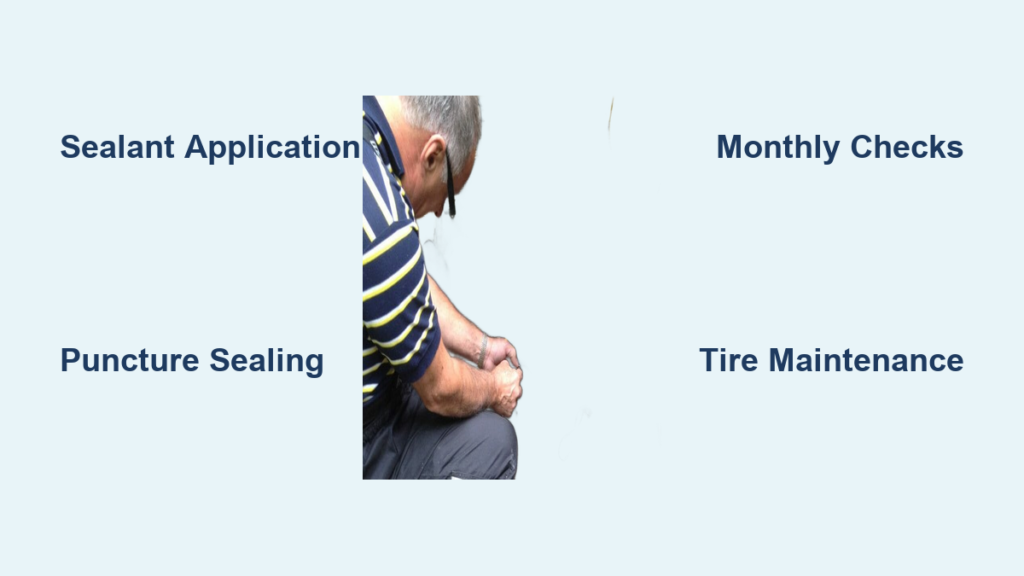
Executing the Plug Repair Correctly
The plug repair process requires precision to create an airtight seal that withstands Toyota’s recommended tire pressures:
- Roughen the puncture channel using the pick tool from your kit to create better adhesion
- Apply rubber cement inside the puncture channel with the small brush provided
- Prepare the plug by pulling it through the insertion tool’s eye
- Insert the plug firmly through the puncture until about ½ inch remains outside
- Trim excess plug material flush with the tire tread once the tool is removed
Time estimate: This process typically takes 15-20 minutes for an experienced DIYer. Rushing steps compromises the repair’s effectiveness.
Post-Repair Safety Verification for Toyota Vehicles
Toyota’s advanced safety systems rely on consistent tire performance, making thorough post-repair verification essential. A poorly executed repair can trigger multiple warning lights on your dashboard, including traction control and vehicle stability indicators.
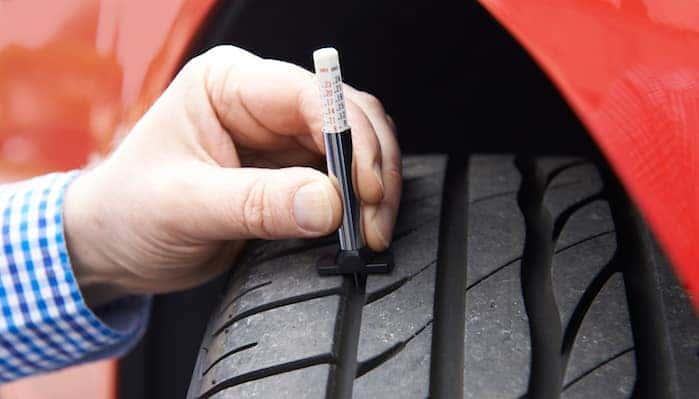
Critical Inflation and Pressure Checks
After completing the plug repair, reinflate your tire to the manufacturer’s specifications found on the driver’s side door jamb. Toyota vehicles require precise tire pressures for optimal handling and safety system performance. Check pressure when tires are cold for accurate readings.
Important: Drive slowly for the first few miles, then recheck pressure. Some initial air loss is normal as the plug settles, but significant pressure drops indicate a failed repair requiring immediate attention.
Test Driving and System Reset Procedures
Take a short test drive at low speeds to verify the repair’s integrity. Listen for unusual noises and pay attention to steering behavior. If your Toyota has a tire pressure monitoring system (TPMS), you may need to reset it after repairing a flat:
- Inflate all tires to proper pressure
- Turn ignition to “ON” position without starting engine
- Locate TPMS reset button (usually near steering column)
- Press and hold until TPMS light blinks three times
- Drive above 15 mph for 10 minutes to complete system reset
Warning: If any warning lights remain illuminated after reset, visit a Toyota service center immediately – your repair may not meet safety standards.
When Toyota Tire Damage Requires Professional Replacement

Not all tire damage qualifies for field repairs. Understanding these limitations prevents dangerous situations and potential damage to your Toyota’s sophisticated driving systems.
Irreparable Damage Scenarios
Your Toyota tire needs replacement rather than repair if:
– Punctures exceed ¼ inch in diameter
– Damage occurs in the shoulder or sidewall area
– Multiple punctures are within 16 inches of each other
– Previous repairs exist near the new damage
– Internal cords are visible through the puncture
Expert insight: Modern Toyota models with advanced safety features like All-Wheel Drive require matched tire diameters. Even a properly repaired tire may have slightly different rolling circumference, potentially causing drivetrain damage in AWD models.
Cost-Benefit Analysis of Repair vs. Replacement
Consider these factors when deciding between repair and replacement for your Toyota:
– Tire age and tread depth: Tires with less than 4/32″ tread offer reduced safety
– Number of previous repairs: Most manufacturers limit tires to two repairs
– Warranty status: Some tire warranties void after first repair
– Vehicle model: AWD Toyotas have stricter tire matching requirements
Pro tip: Many Toyota dealerships offer free tire inspections. Take advantage of this service to get professional assessment of repair viability.
Preventative Maintenance to Avoid Toyota Tire Emergencies
Regular maintenance prevents most roadside tire emergencies and ensures your Toyota’s safety systems function as designed. Proper tire care directly impacts braking distance, fuel economy, and handling characteristics.
Monthly Tire Inspection Protocol
Establish this routine to catch potential issues early:
– Check pressure on all tires (including spare) with accurate gauge
– Rotate tires every 5,000-7,500 miles to ensure even wear
– Inspect tread for uneven wear patterns indicating alignment issues
– Look for embedded debris before it causes air loss
– Verify TPMS sensor functionality
Critical reminder: Toyota recommends checking tire pressure monthly and before long trips. Temperature changes as small as 10°F can alter pressure by 1 PSI.
Seasonal Tire Care Considerations
Adapt your tire maintenance to changing conditions:
– Summer: Monitor for heat-related pressure increases; avoid overinflation
– Winter: Increase pressure by 3-5 PSI to compensate for cold temperature effects
– Rainy seasons: Ensure adequate tread depth for proper water evacuation
– Transition periods: Store off-season tires properly inflated in cool, dark spaces
Time-saving shortcut: Set calendar reminders for tire pressure checks coinciding with daylight saving time changes – twice yearly maintenance becomes automatic.
Final Note: Proper tire repair maintains your Toyota’s sophisticated safety systems while keeping you mobile. Remember that not all damage is repairable – when in doubt, consult a Toyota-certified technician. Establishing regular tire maintenance habits prevents most emergencies and extends tire life significantly. For optimal safety, replace tires every 6 years regardless of tread depth, as rubber compounds degrade over time affecting performance with your vehicle’s electronic systems. Keep this guide accessible in your vehicle for quick reference during tire emergencies.